Using the web based updater
Using the built-in updater to update your Nextcloud installation is just a few steps:
- You should see a notification at the top of any Nextcloud page when there is a new update available. Go to the admin settings page and scroll to the section “Version”. This section has a button to open the updater. This section as well as the update notification is only available if the update notication app is enabled in the apps management.
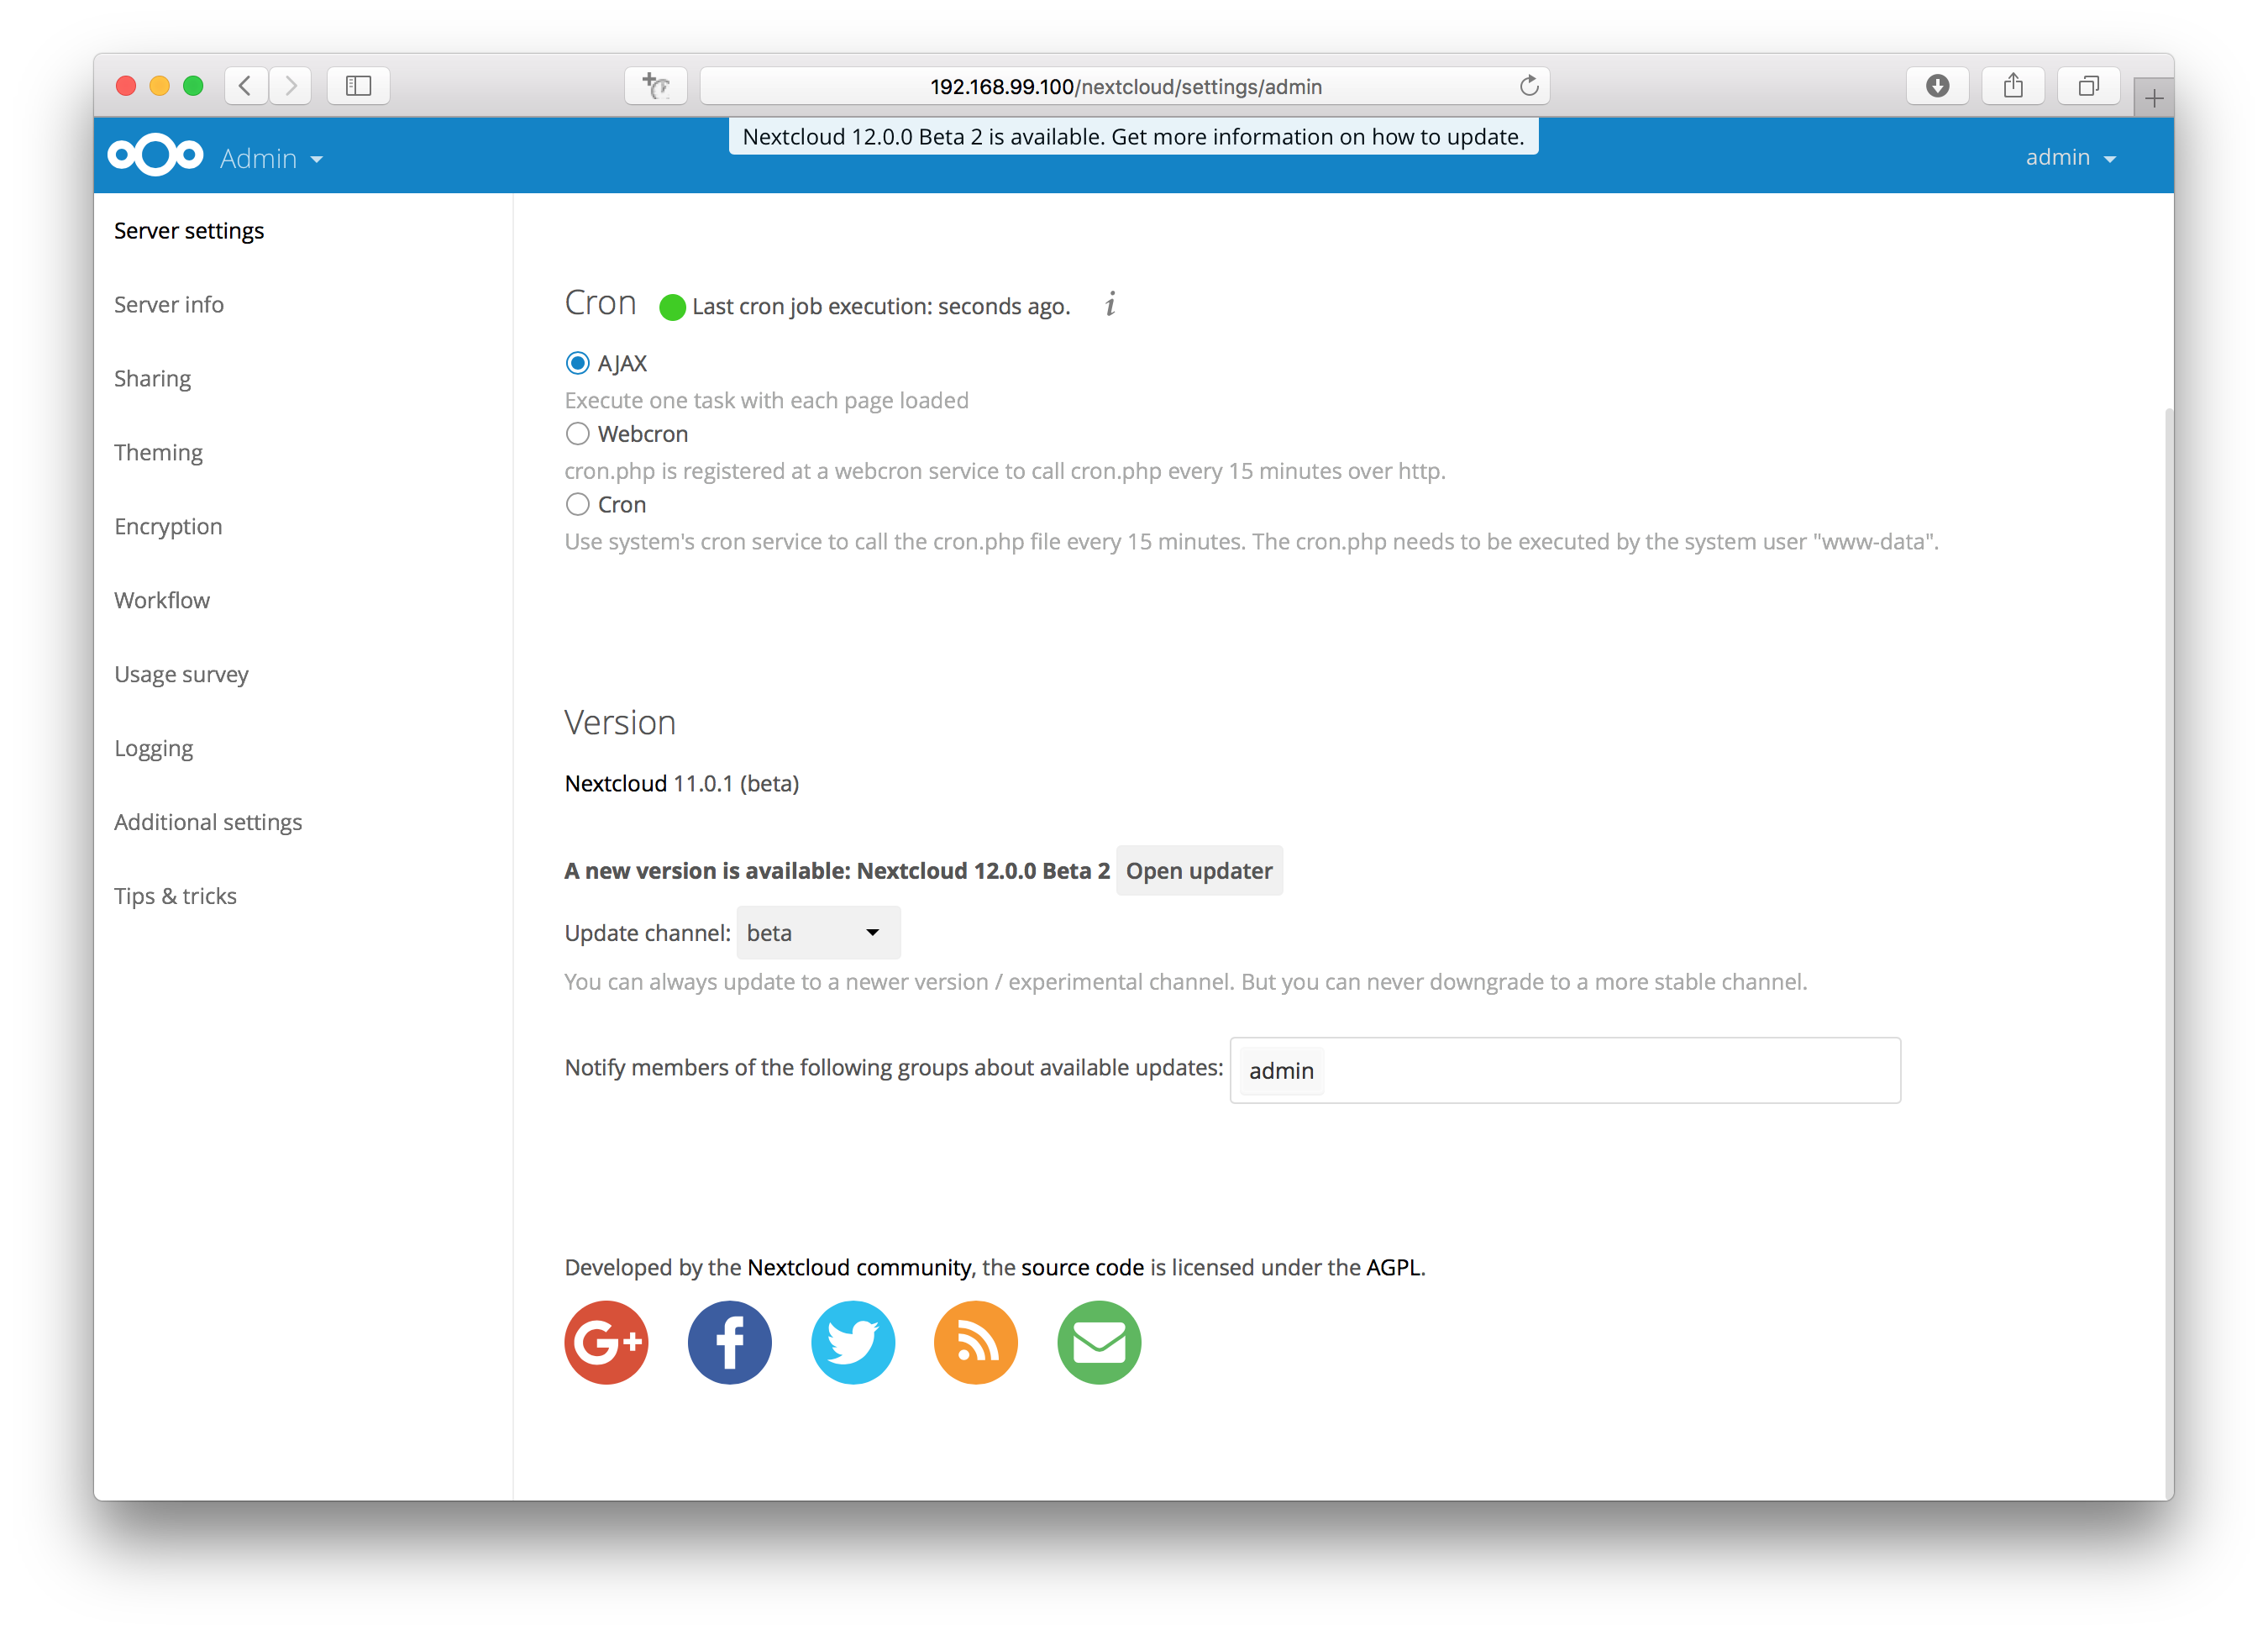
- Click the button “Open updater”.
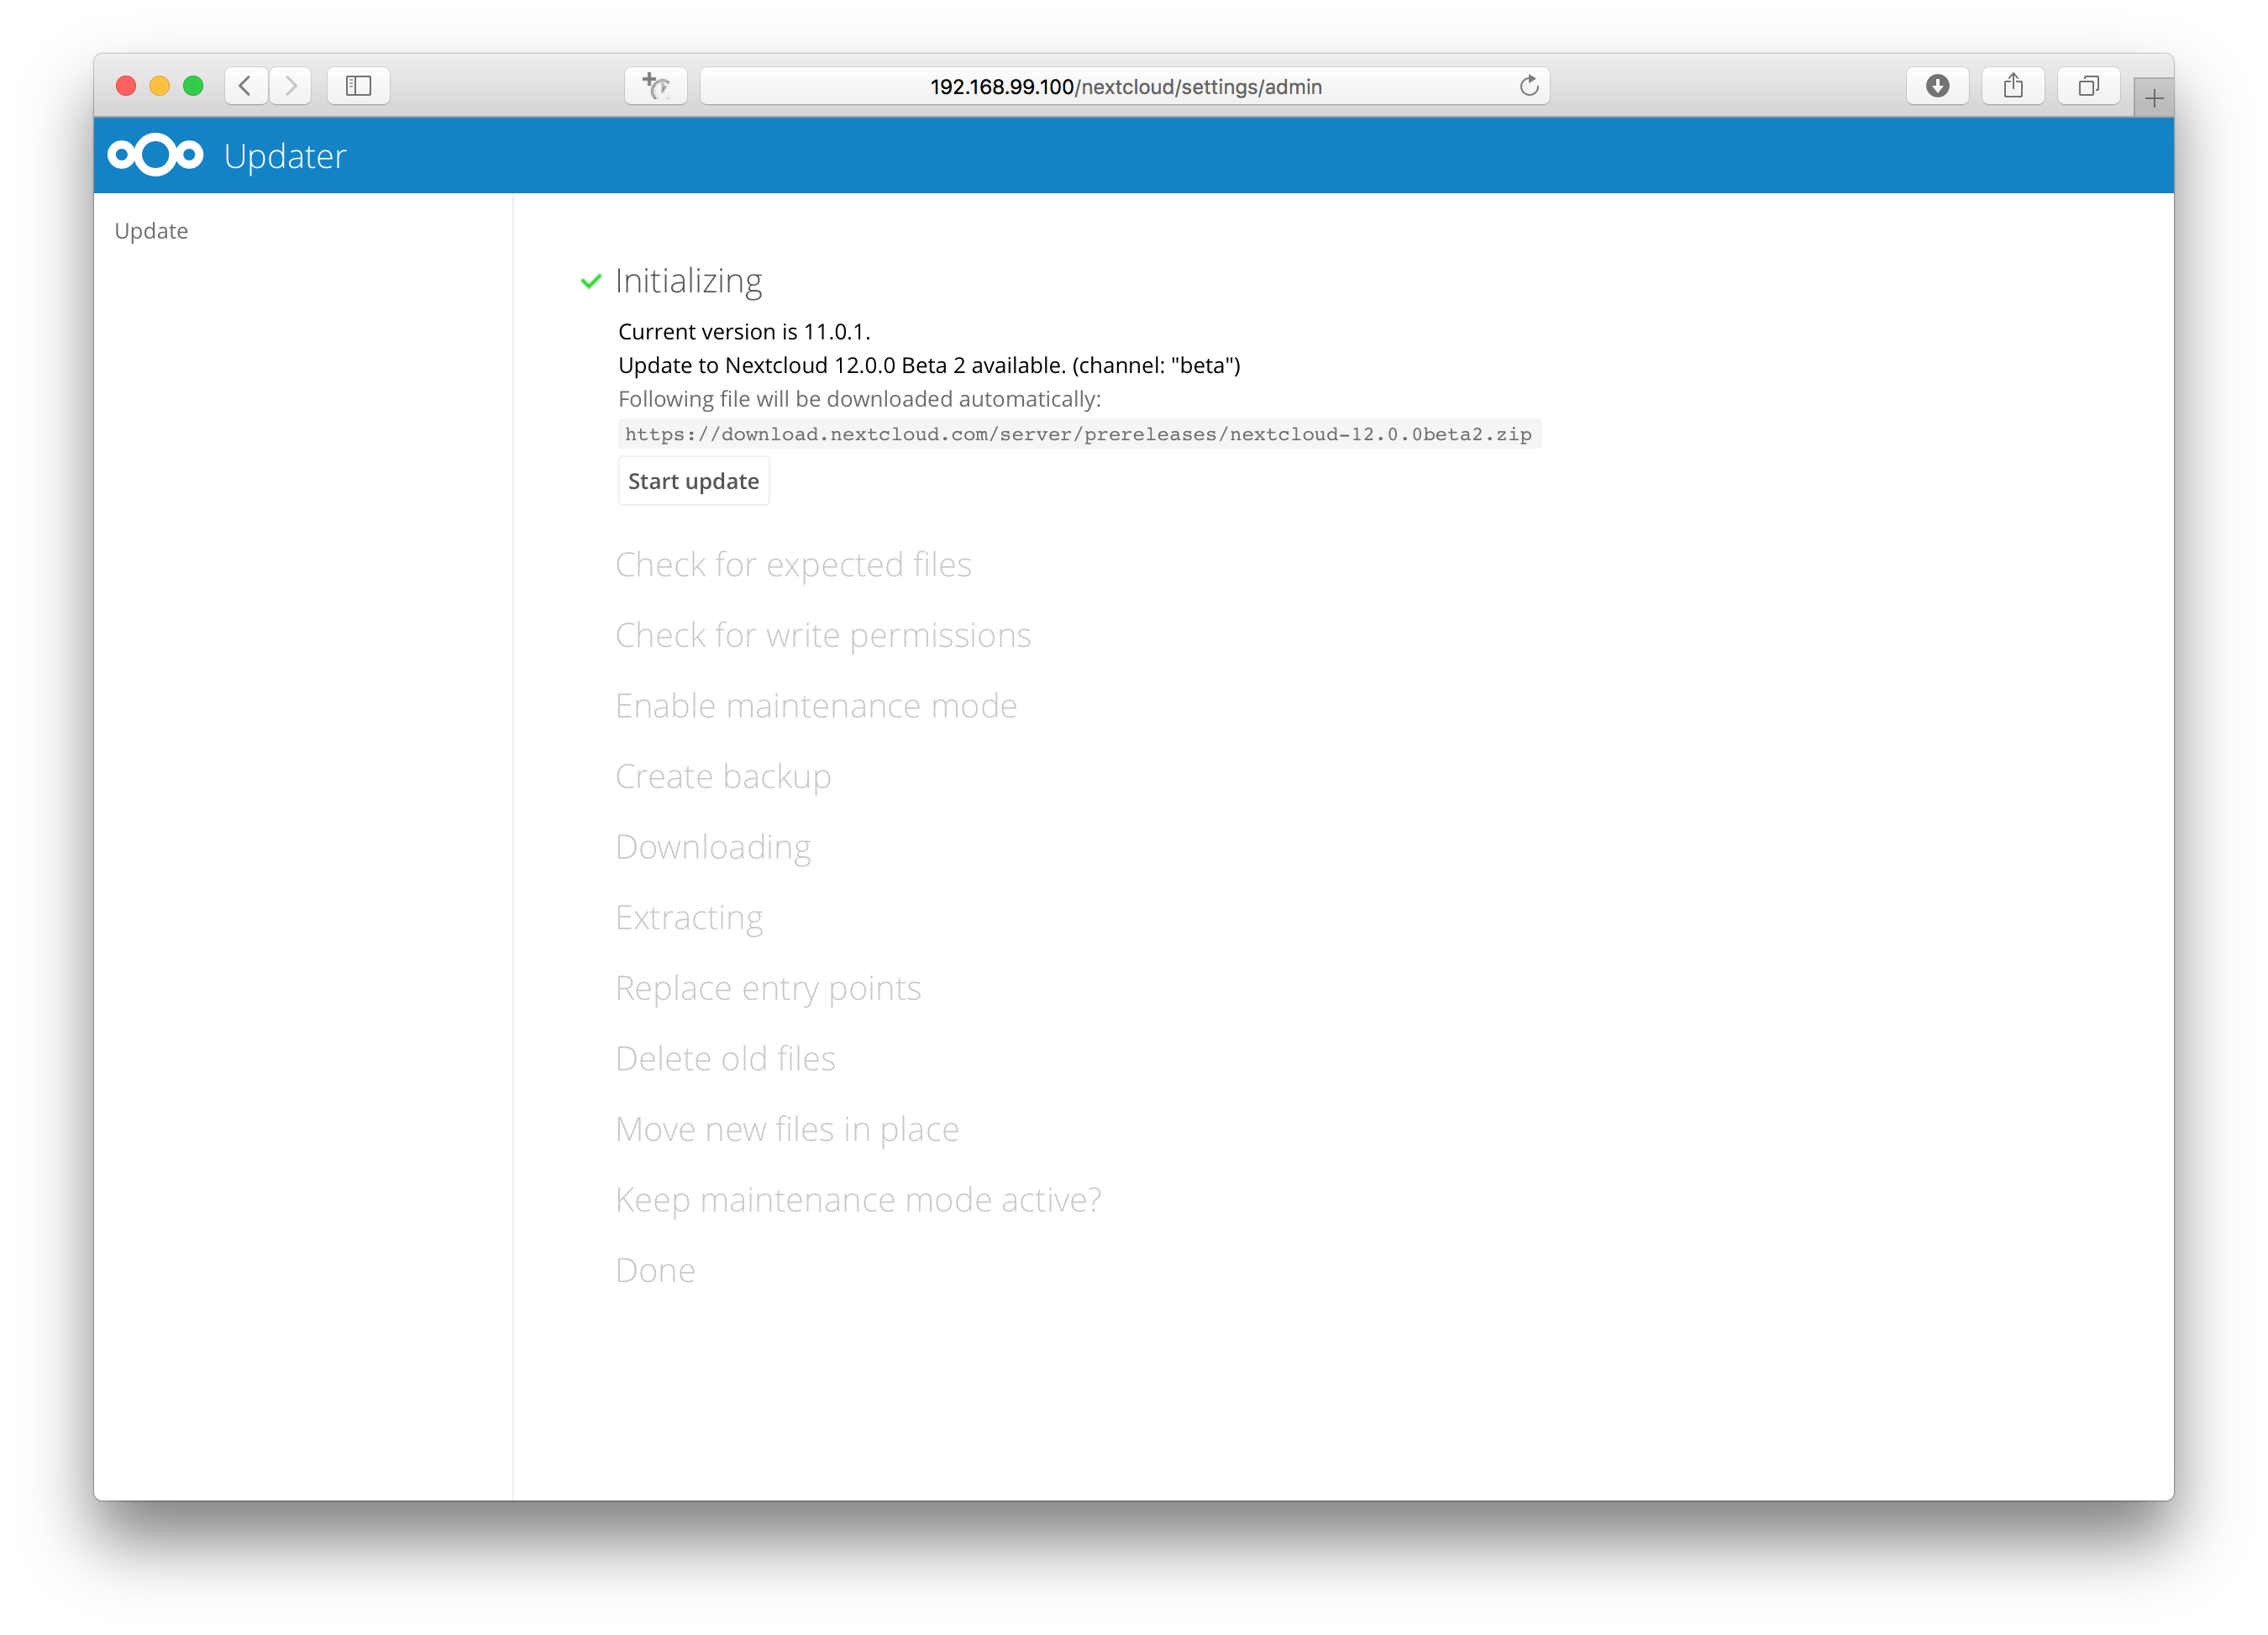
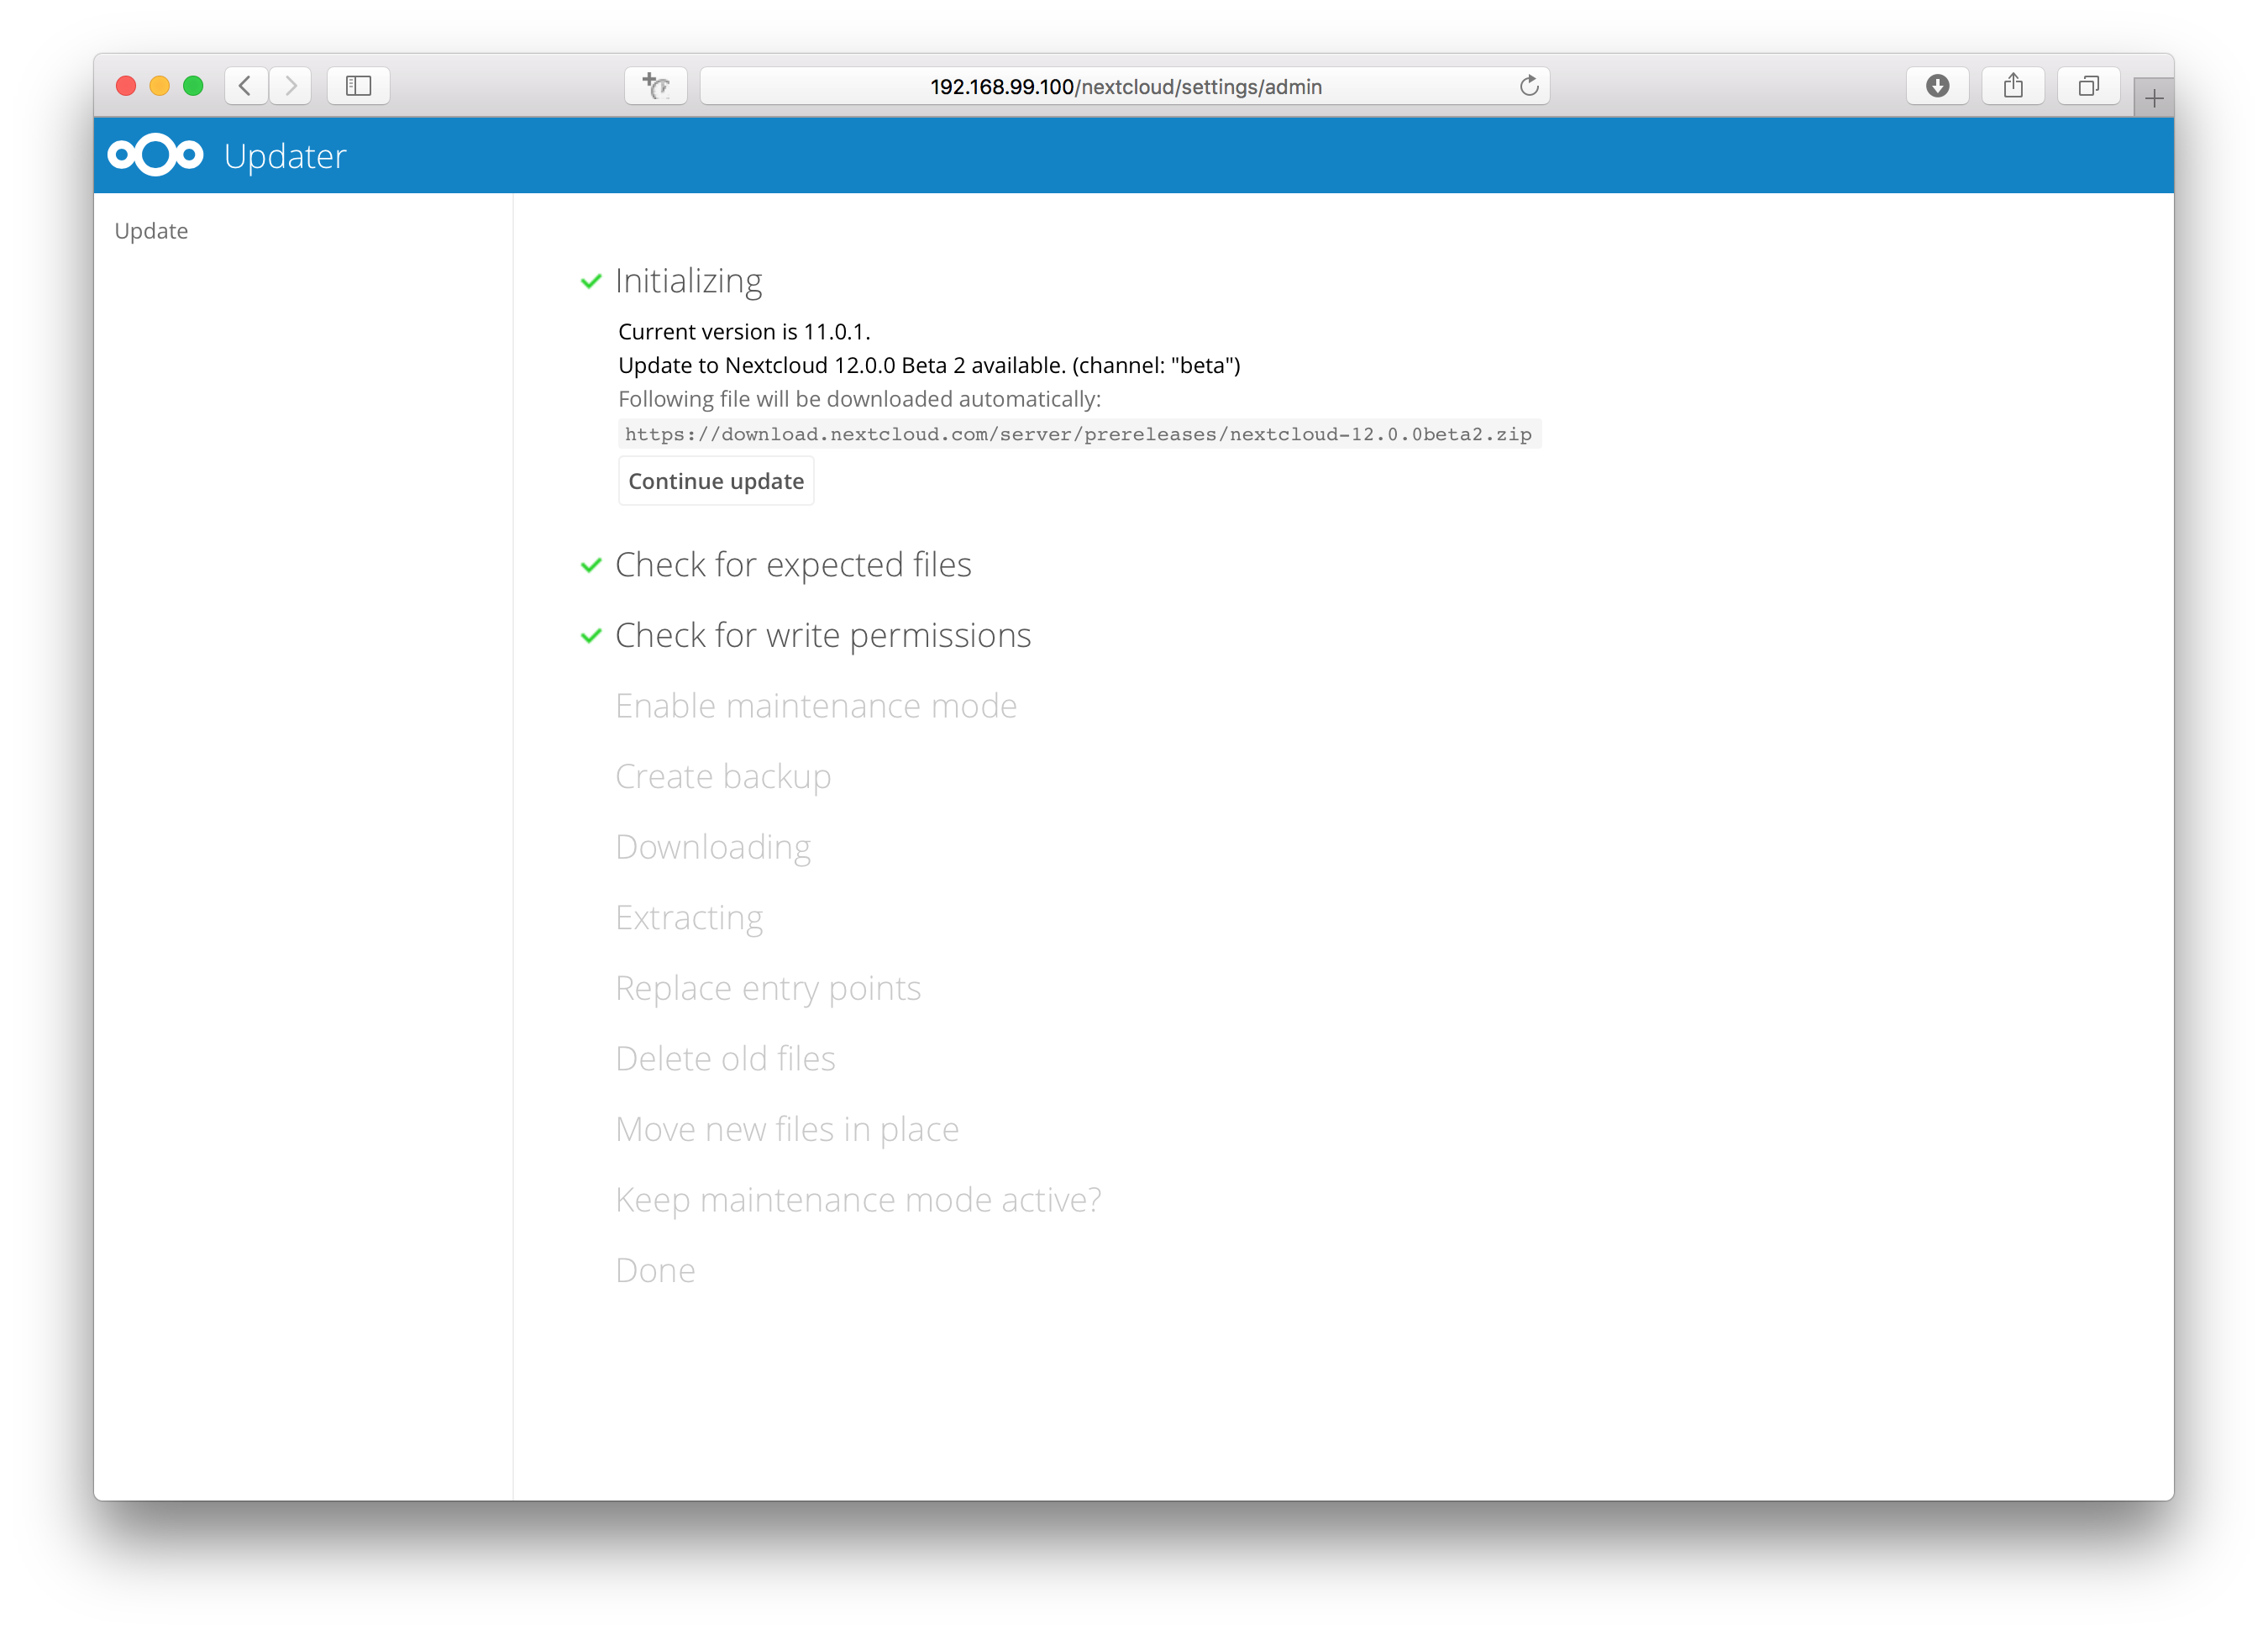
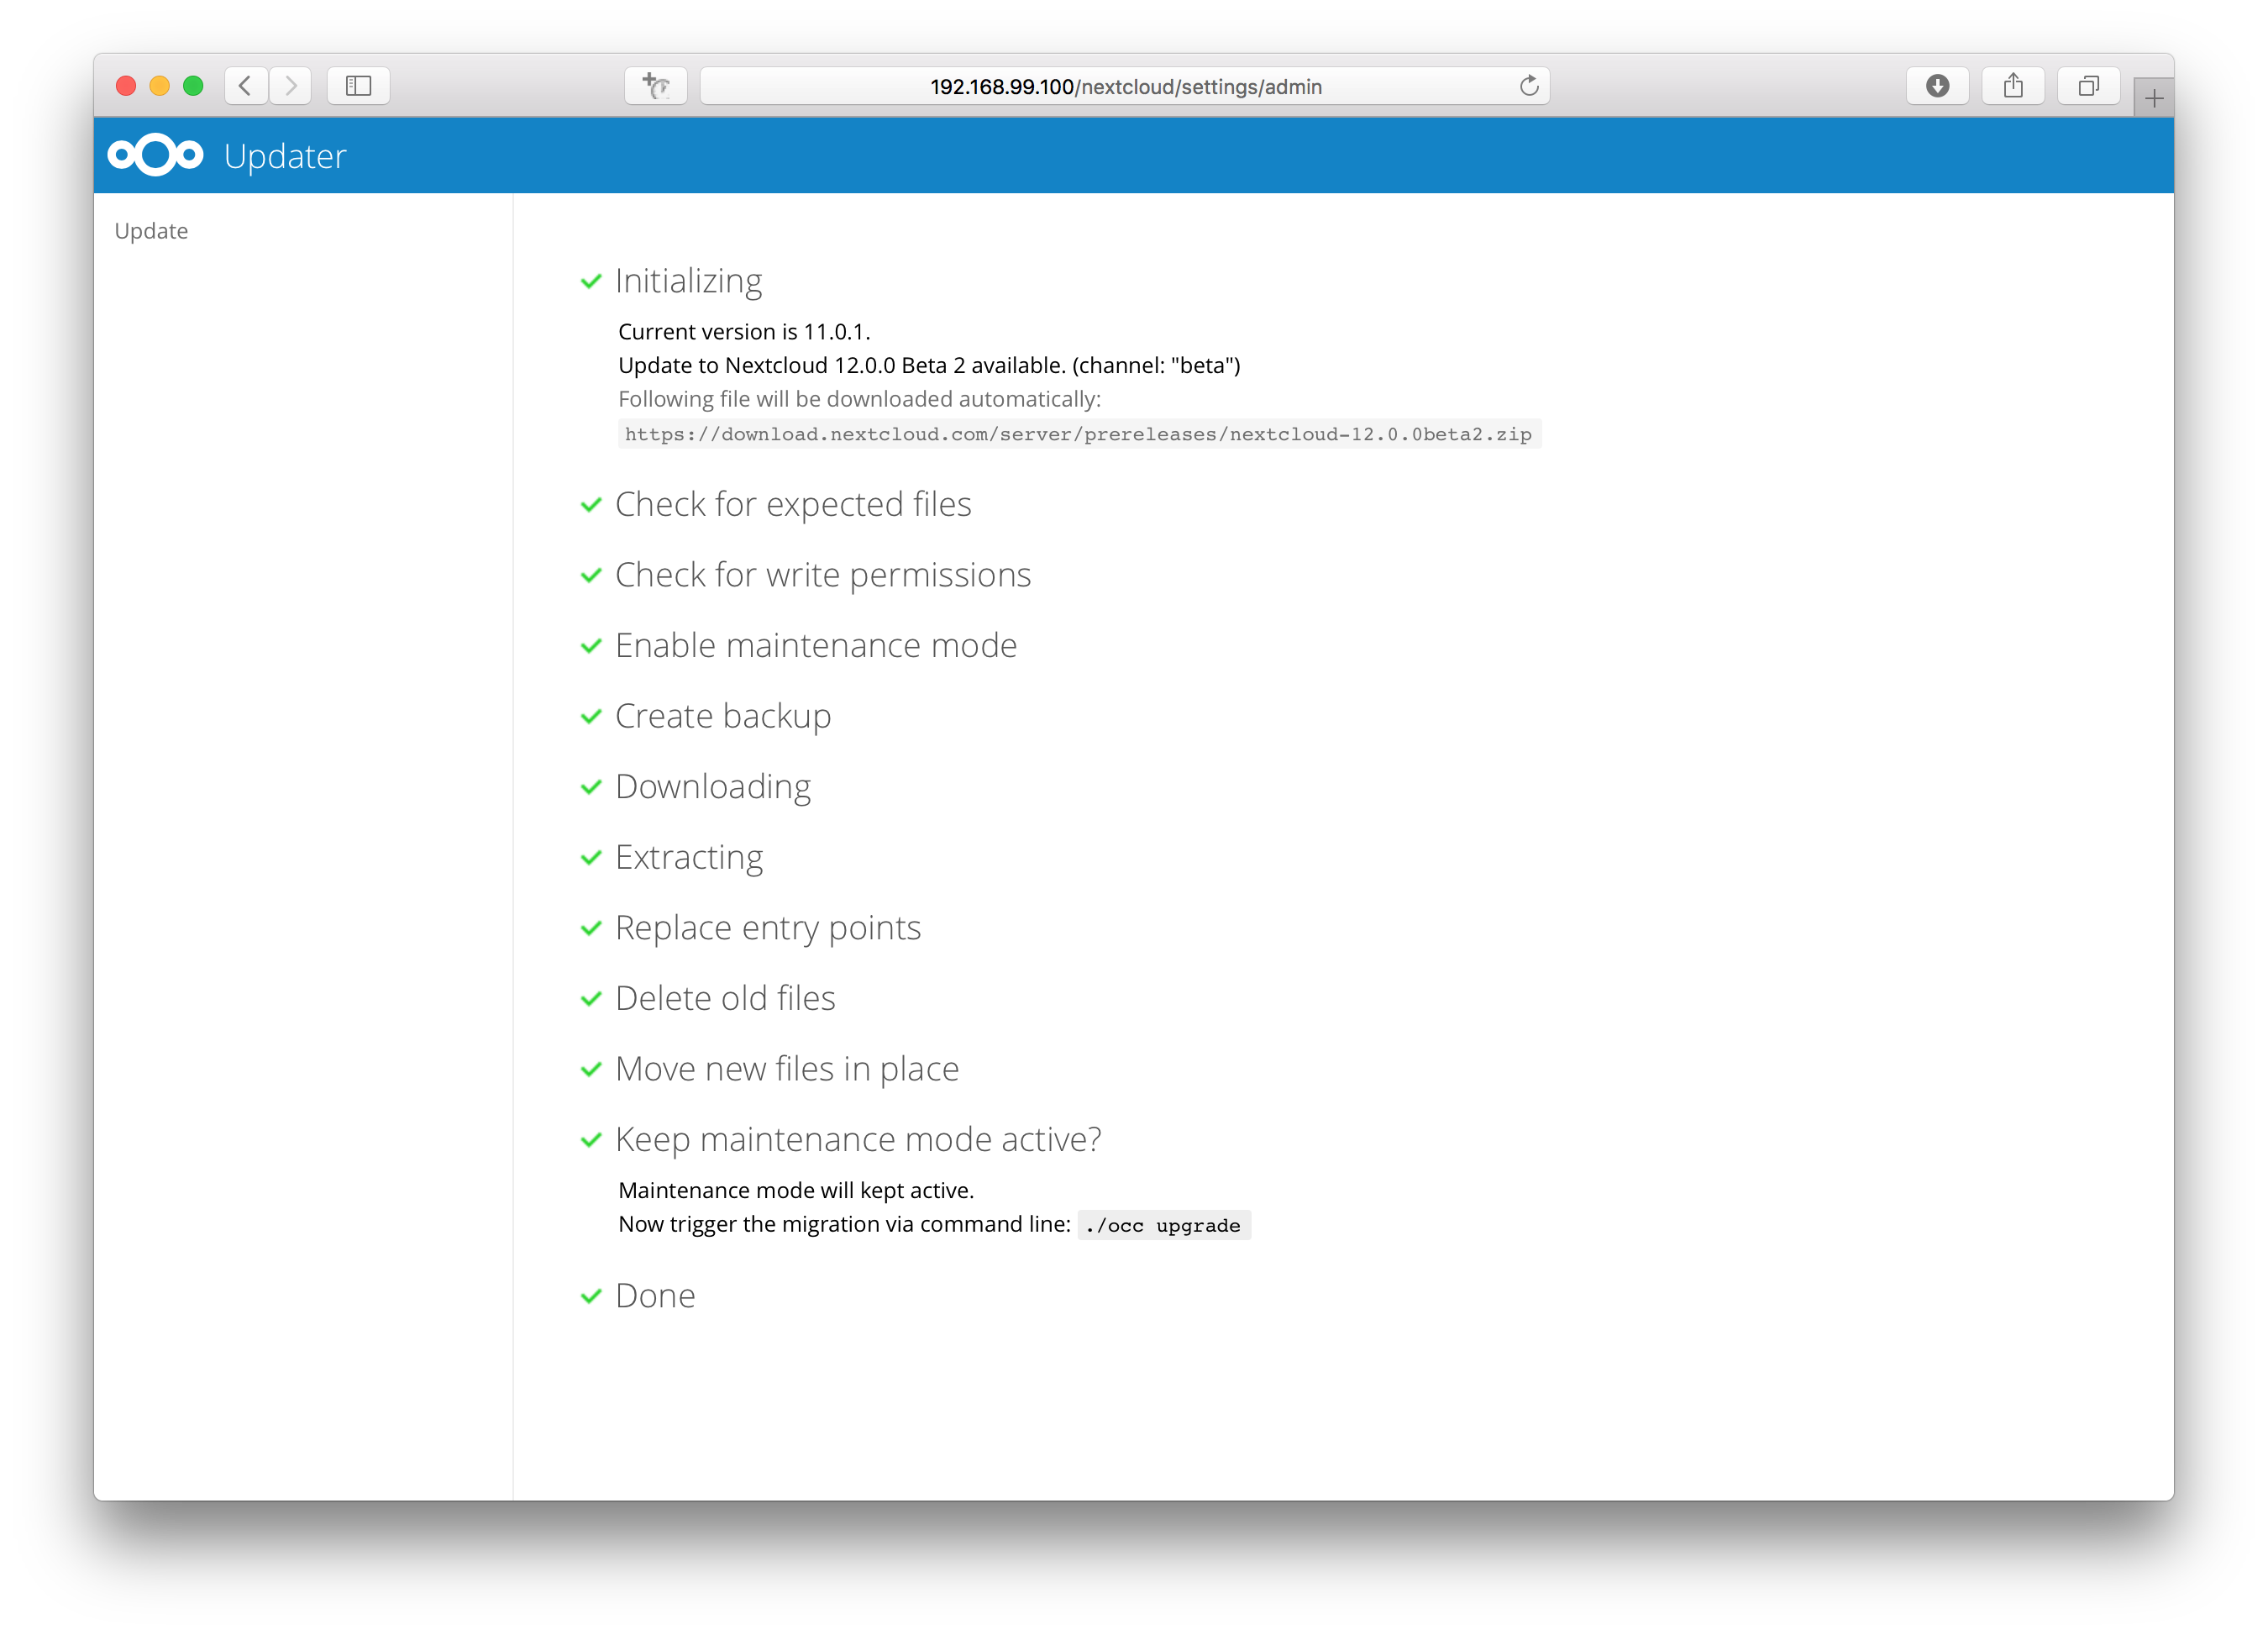
- Verify the information that is shown and click the button “Start update” to start the update.
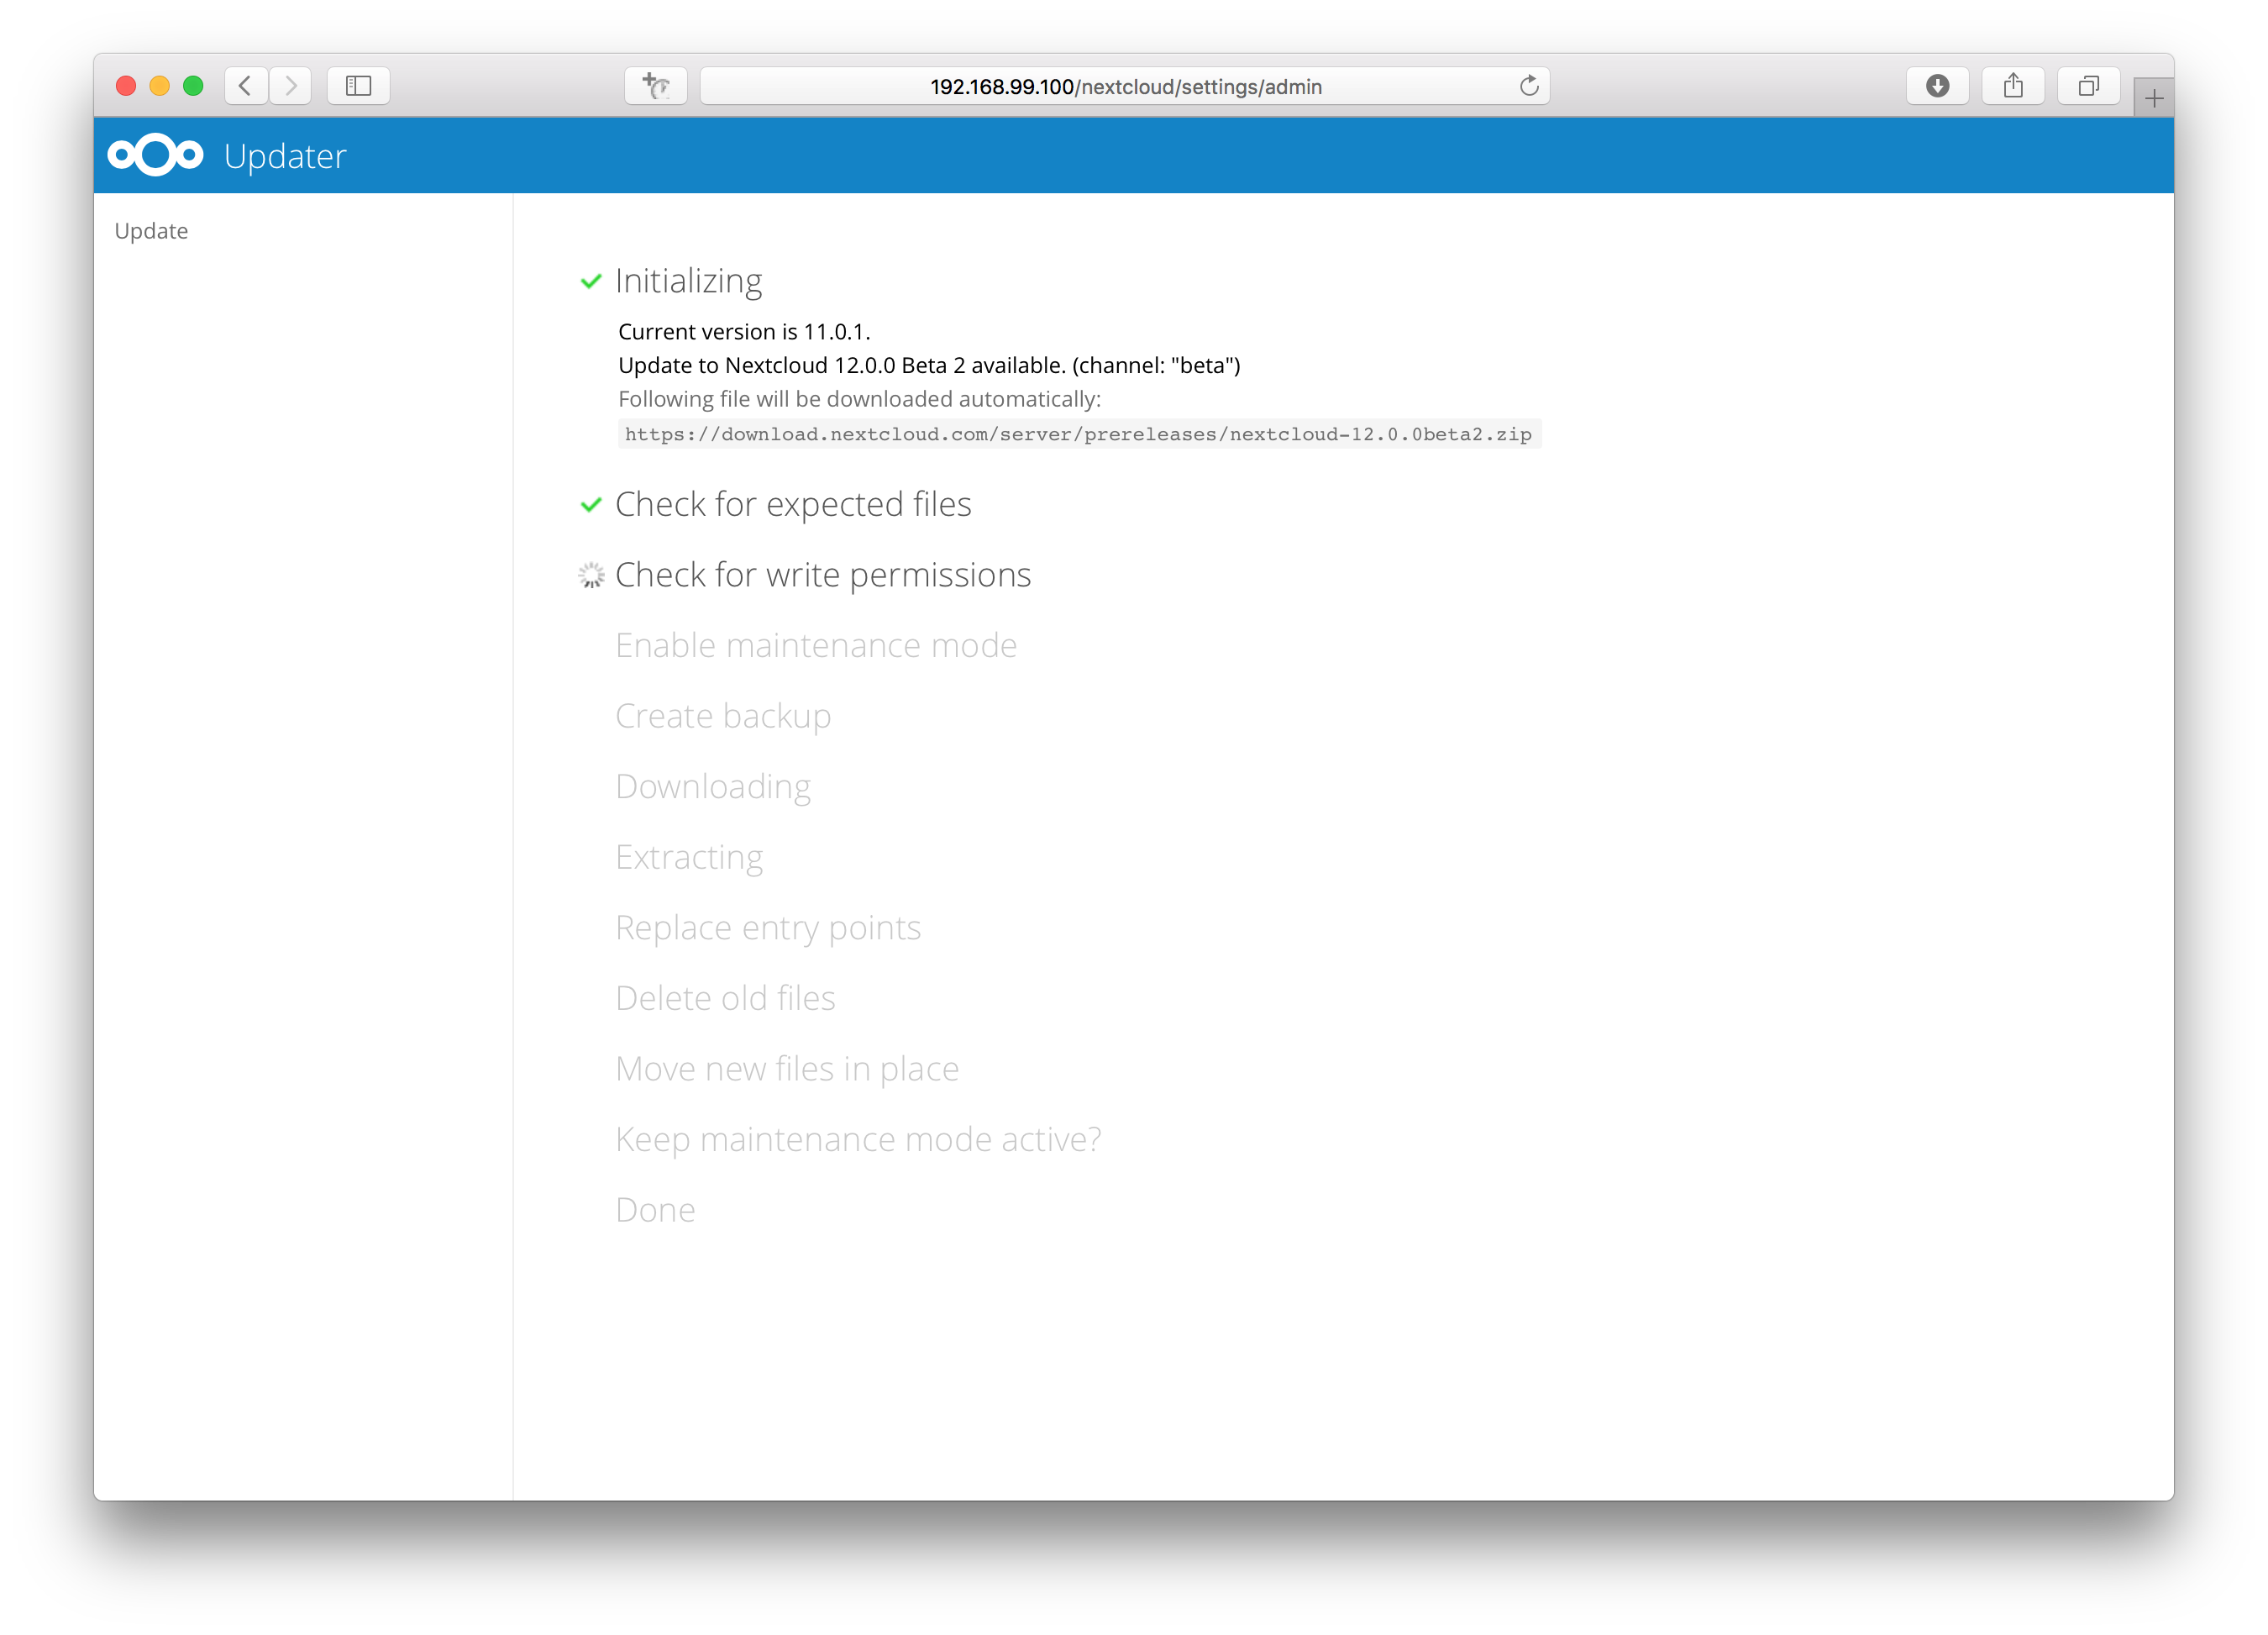
- In case an error happens or the check failed the updater stops processing and gives feedback. You can now try to solve the problem and click the “Retry update” button. This will continue the update and re-run the failed step. It will not re-run the previous succeeded steps.
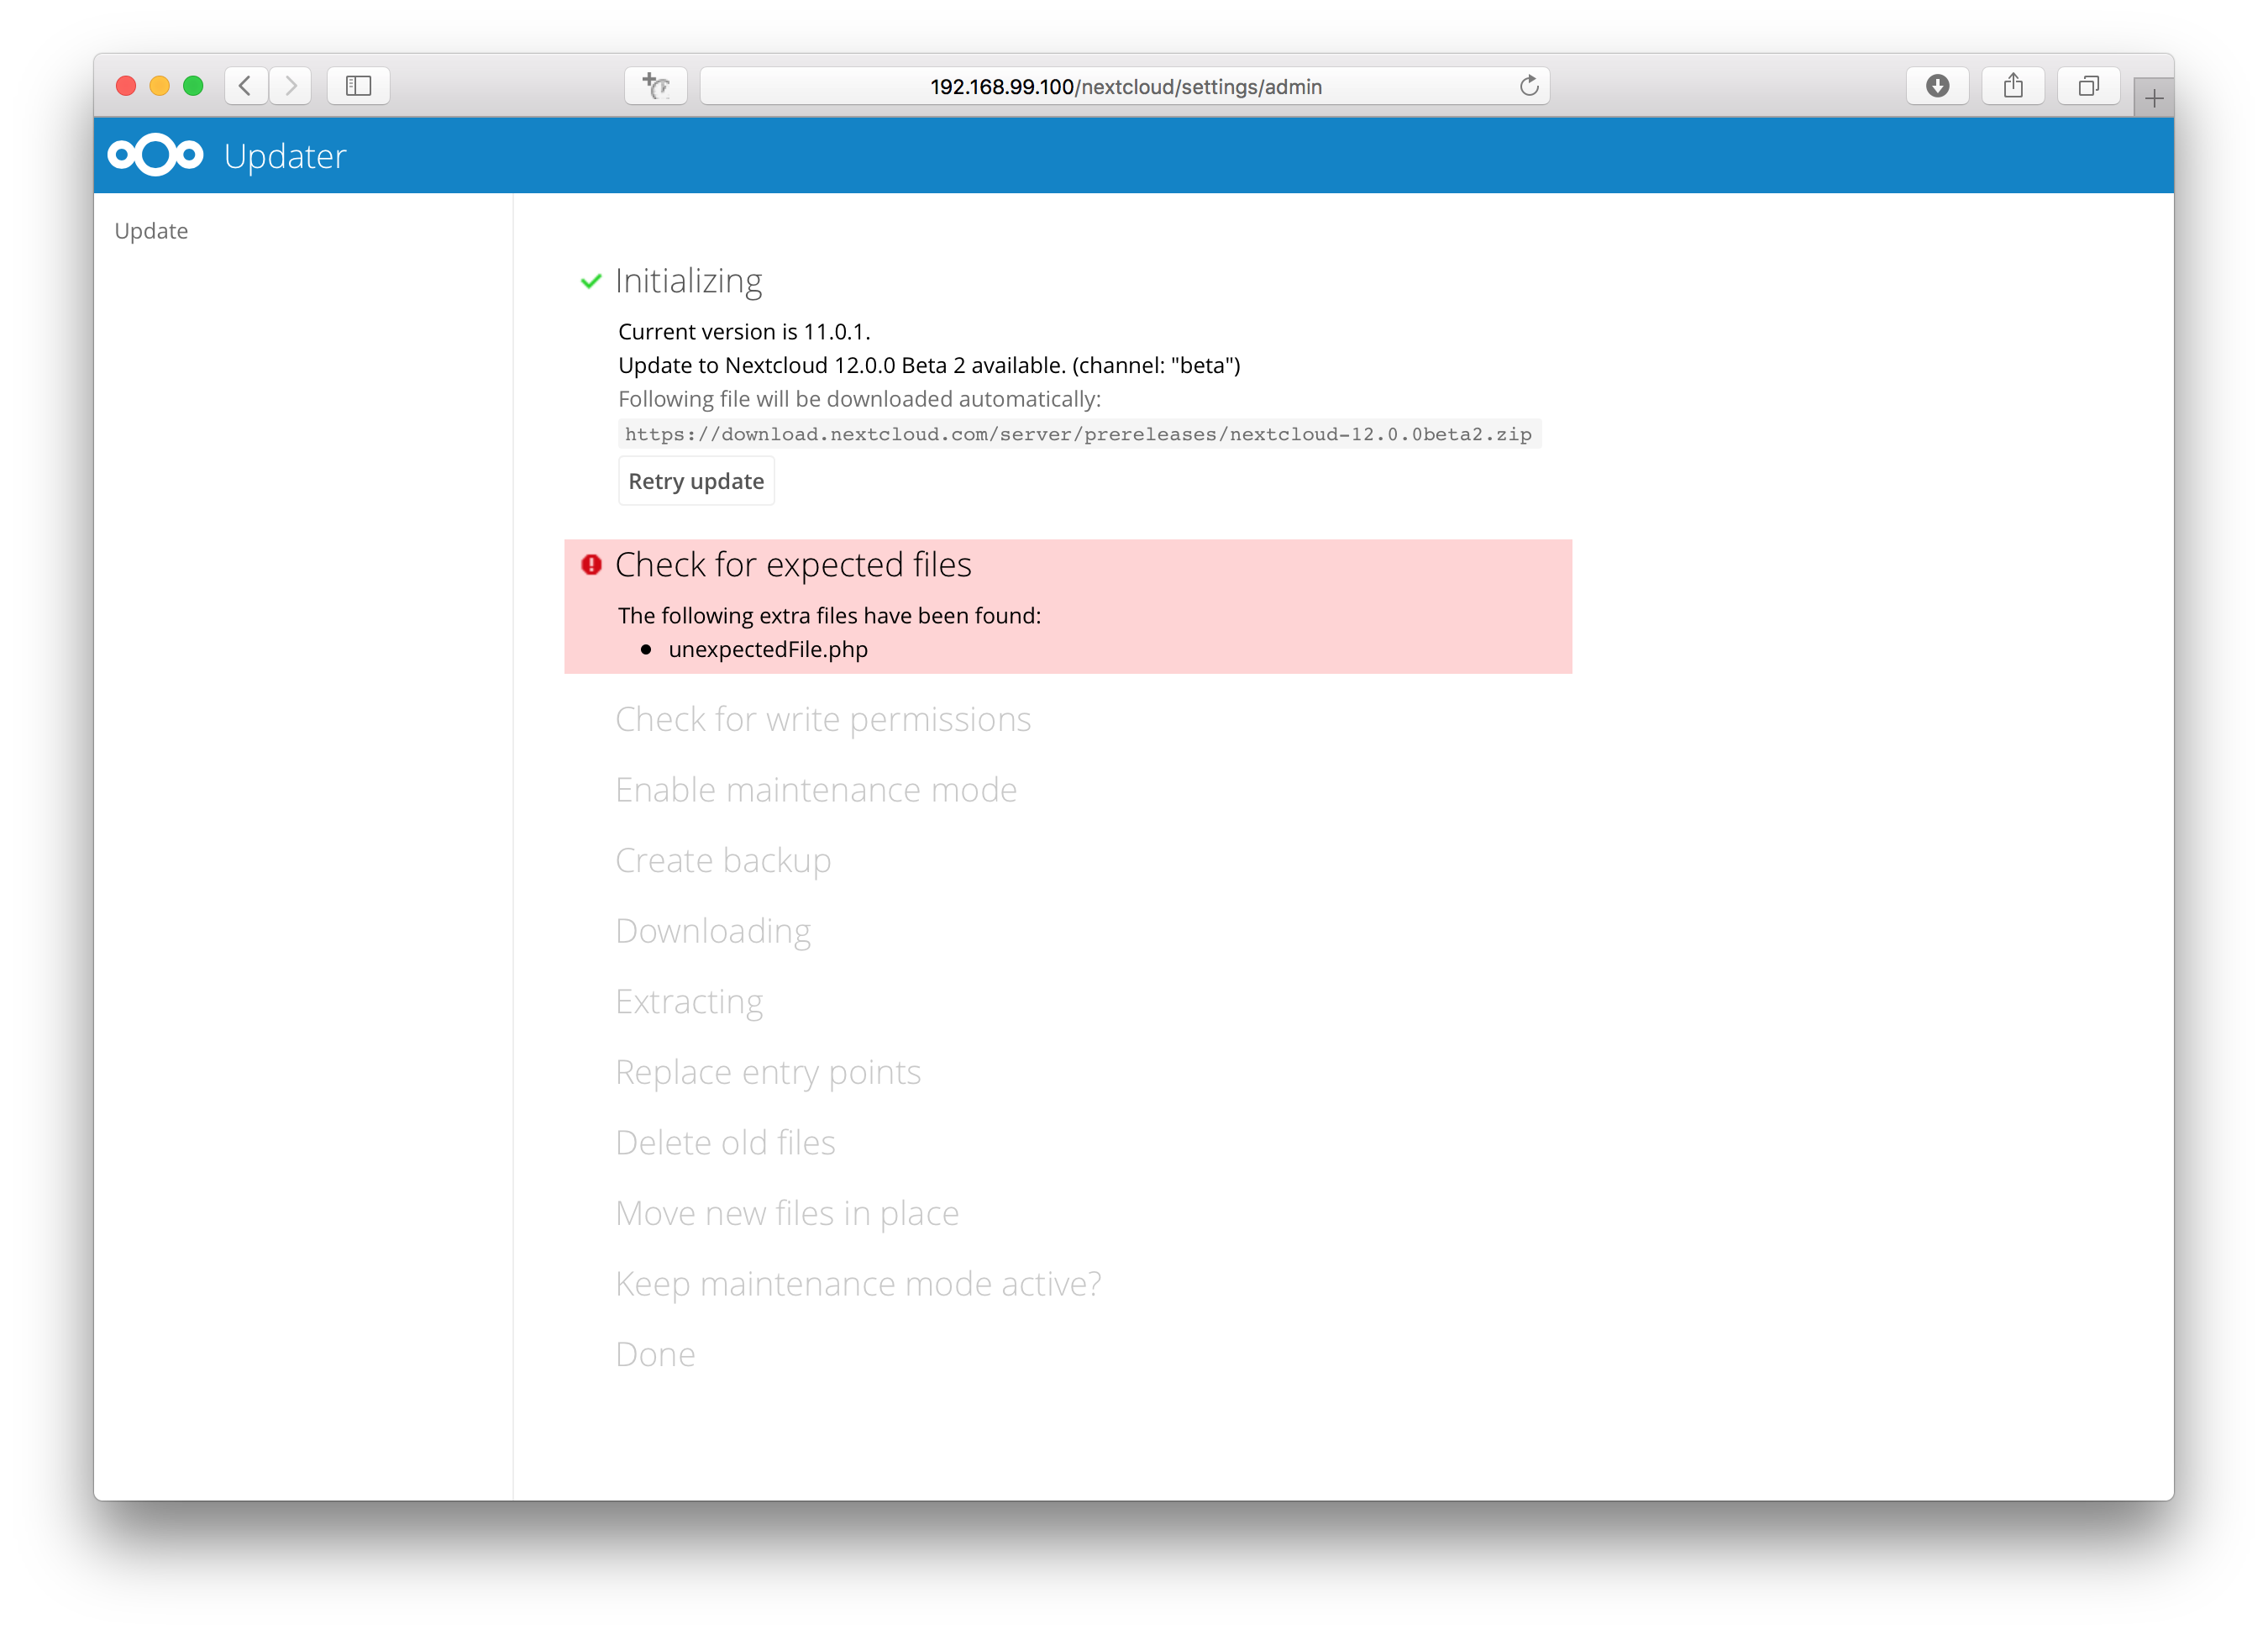
- In case you close the updater, before it finished you can just open the updater page again and proceed at the last succeeded step. Closing the web page will still execute the running step but will not continue with the next one, because this is triggered by the open updater page.
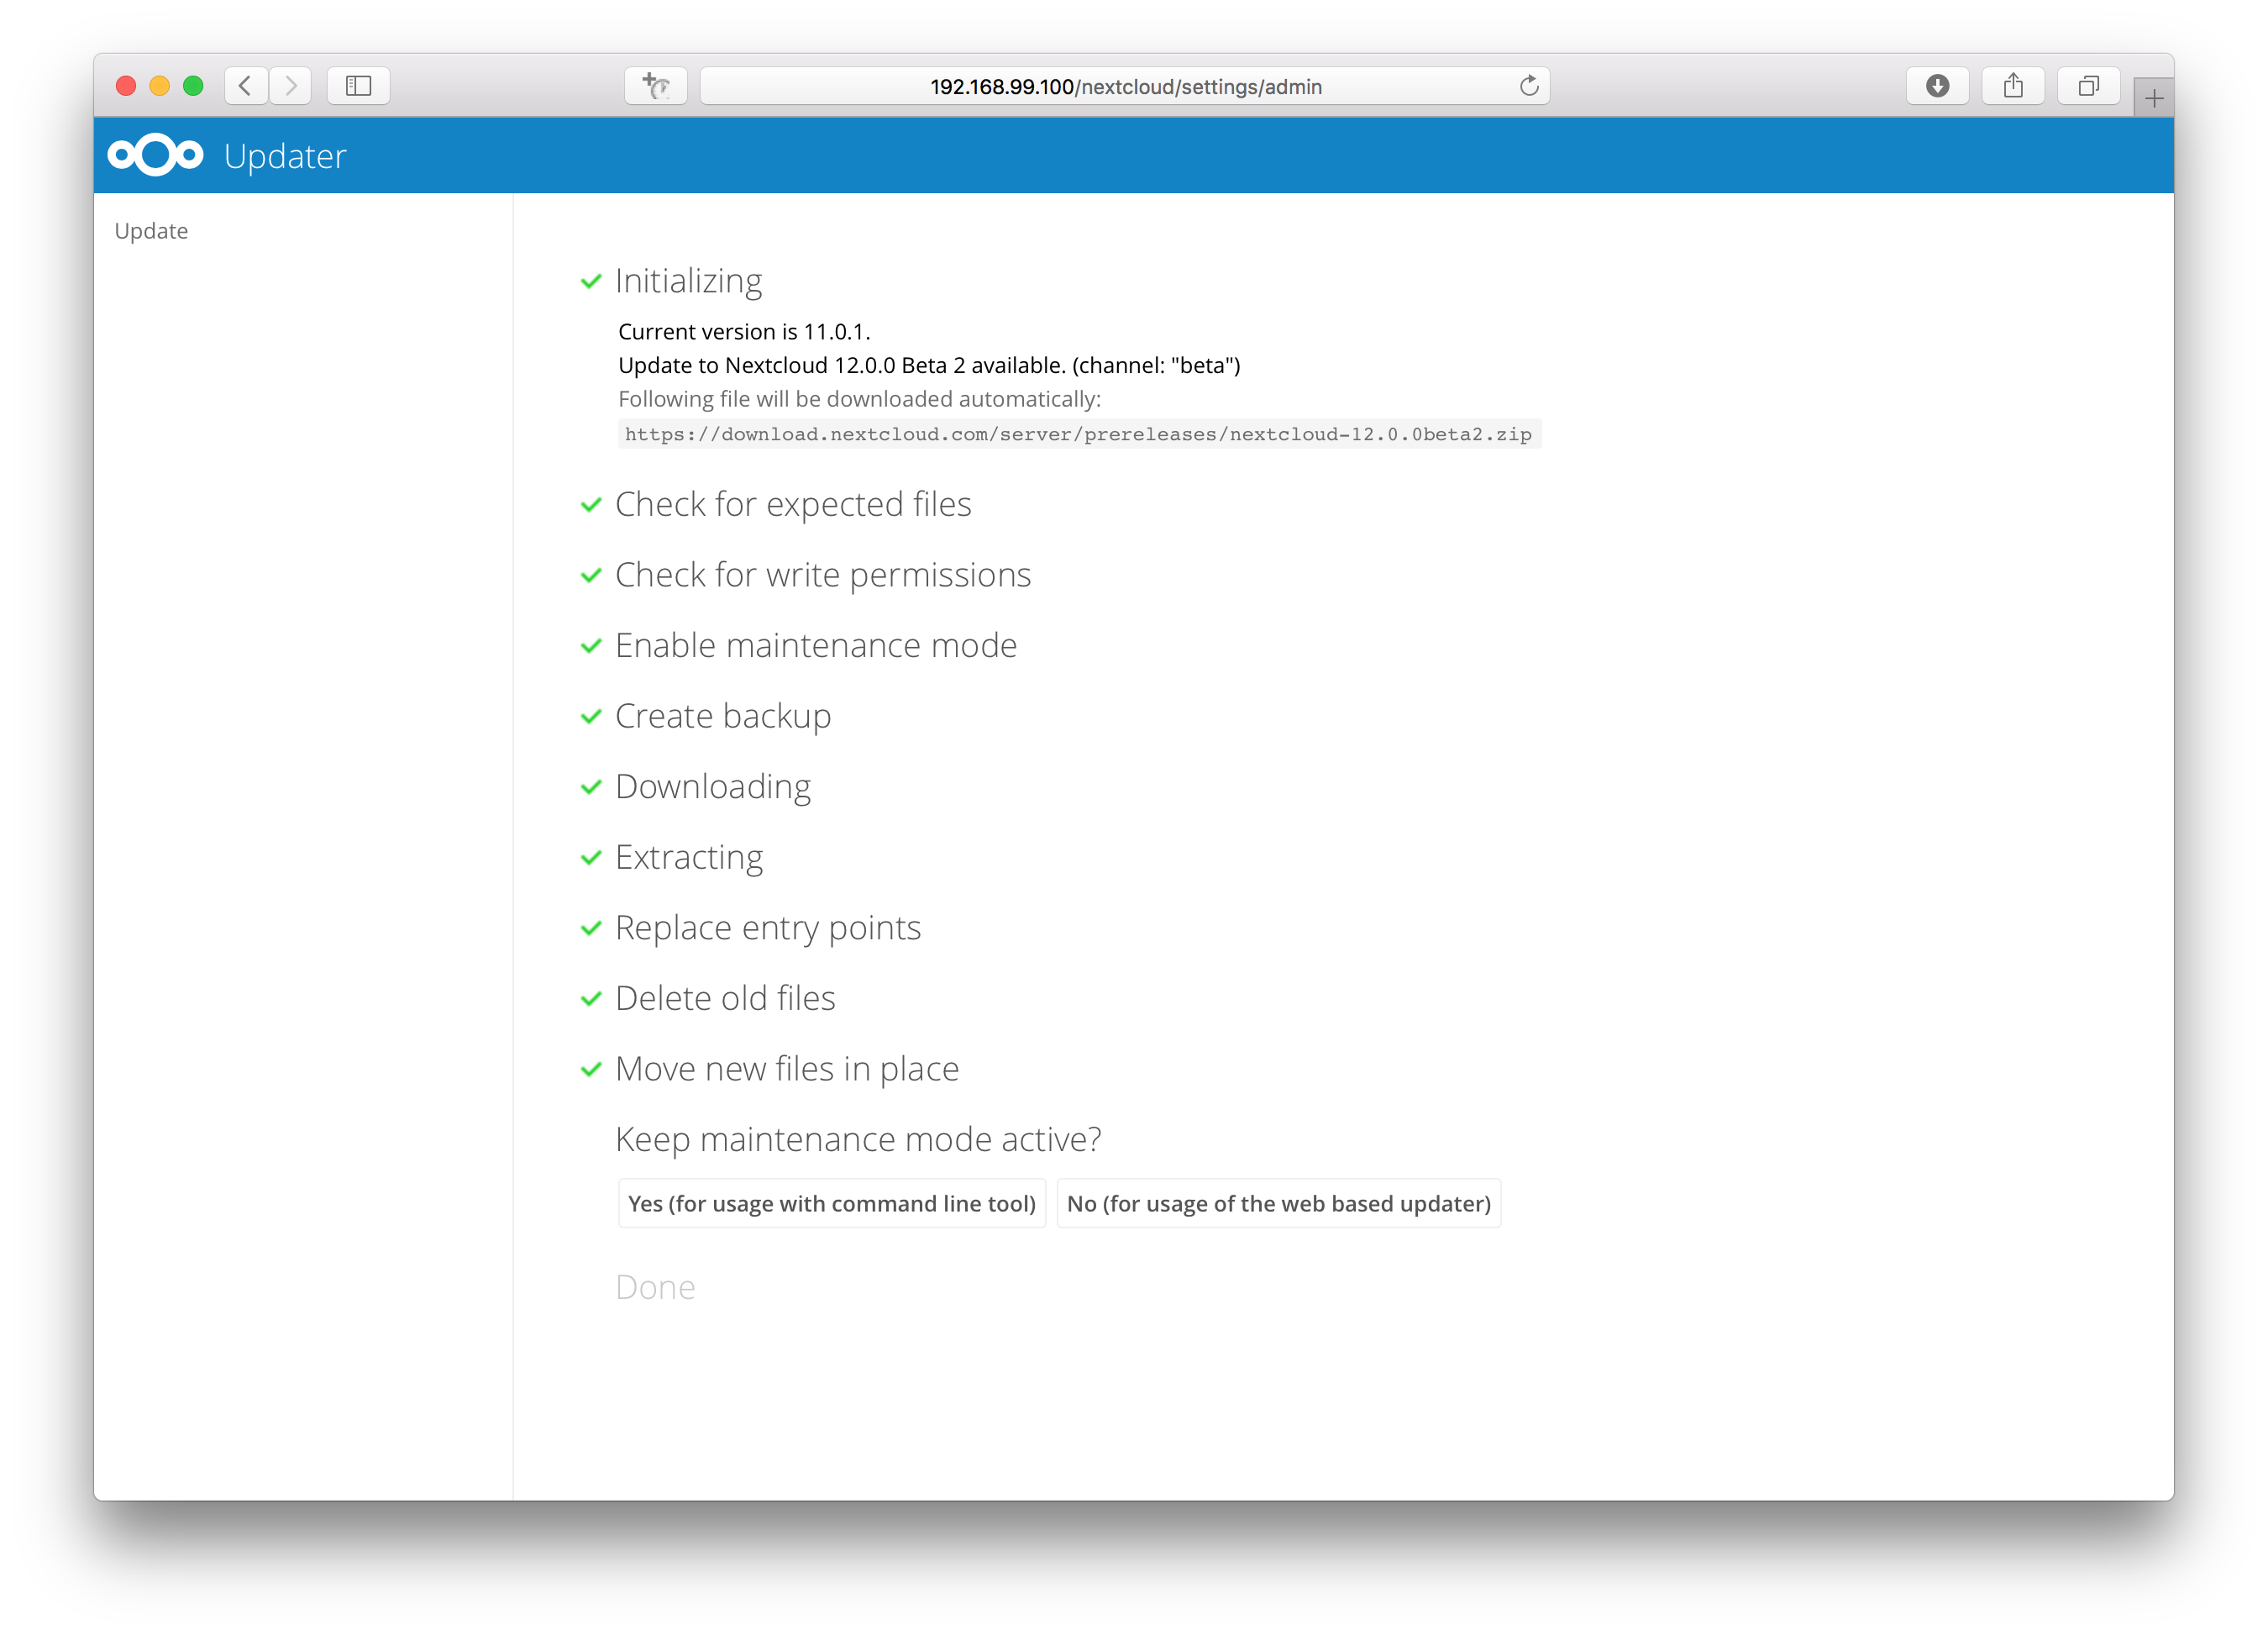
- Once all steps are executed the updater will ask you a final question: “Keep maintenance mode active?”. This allows you to use either the web based upgrade page or the command line based upgrade procedure (
occ upgrade). Command line access is required if the maintenance mode is kept active.
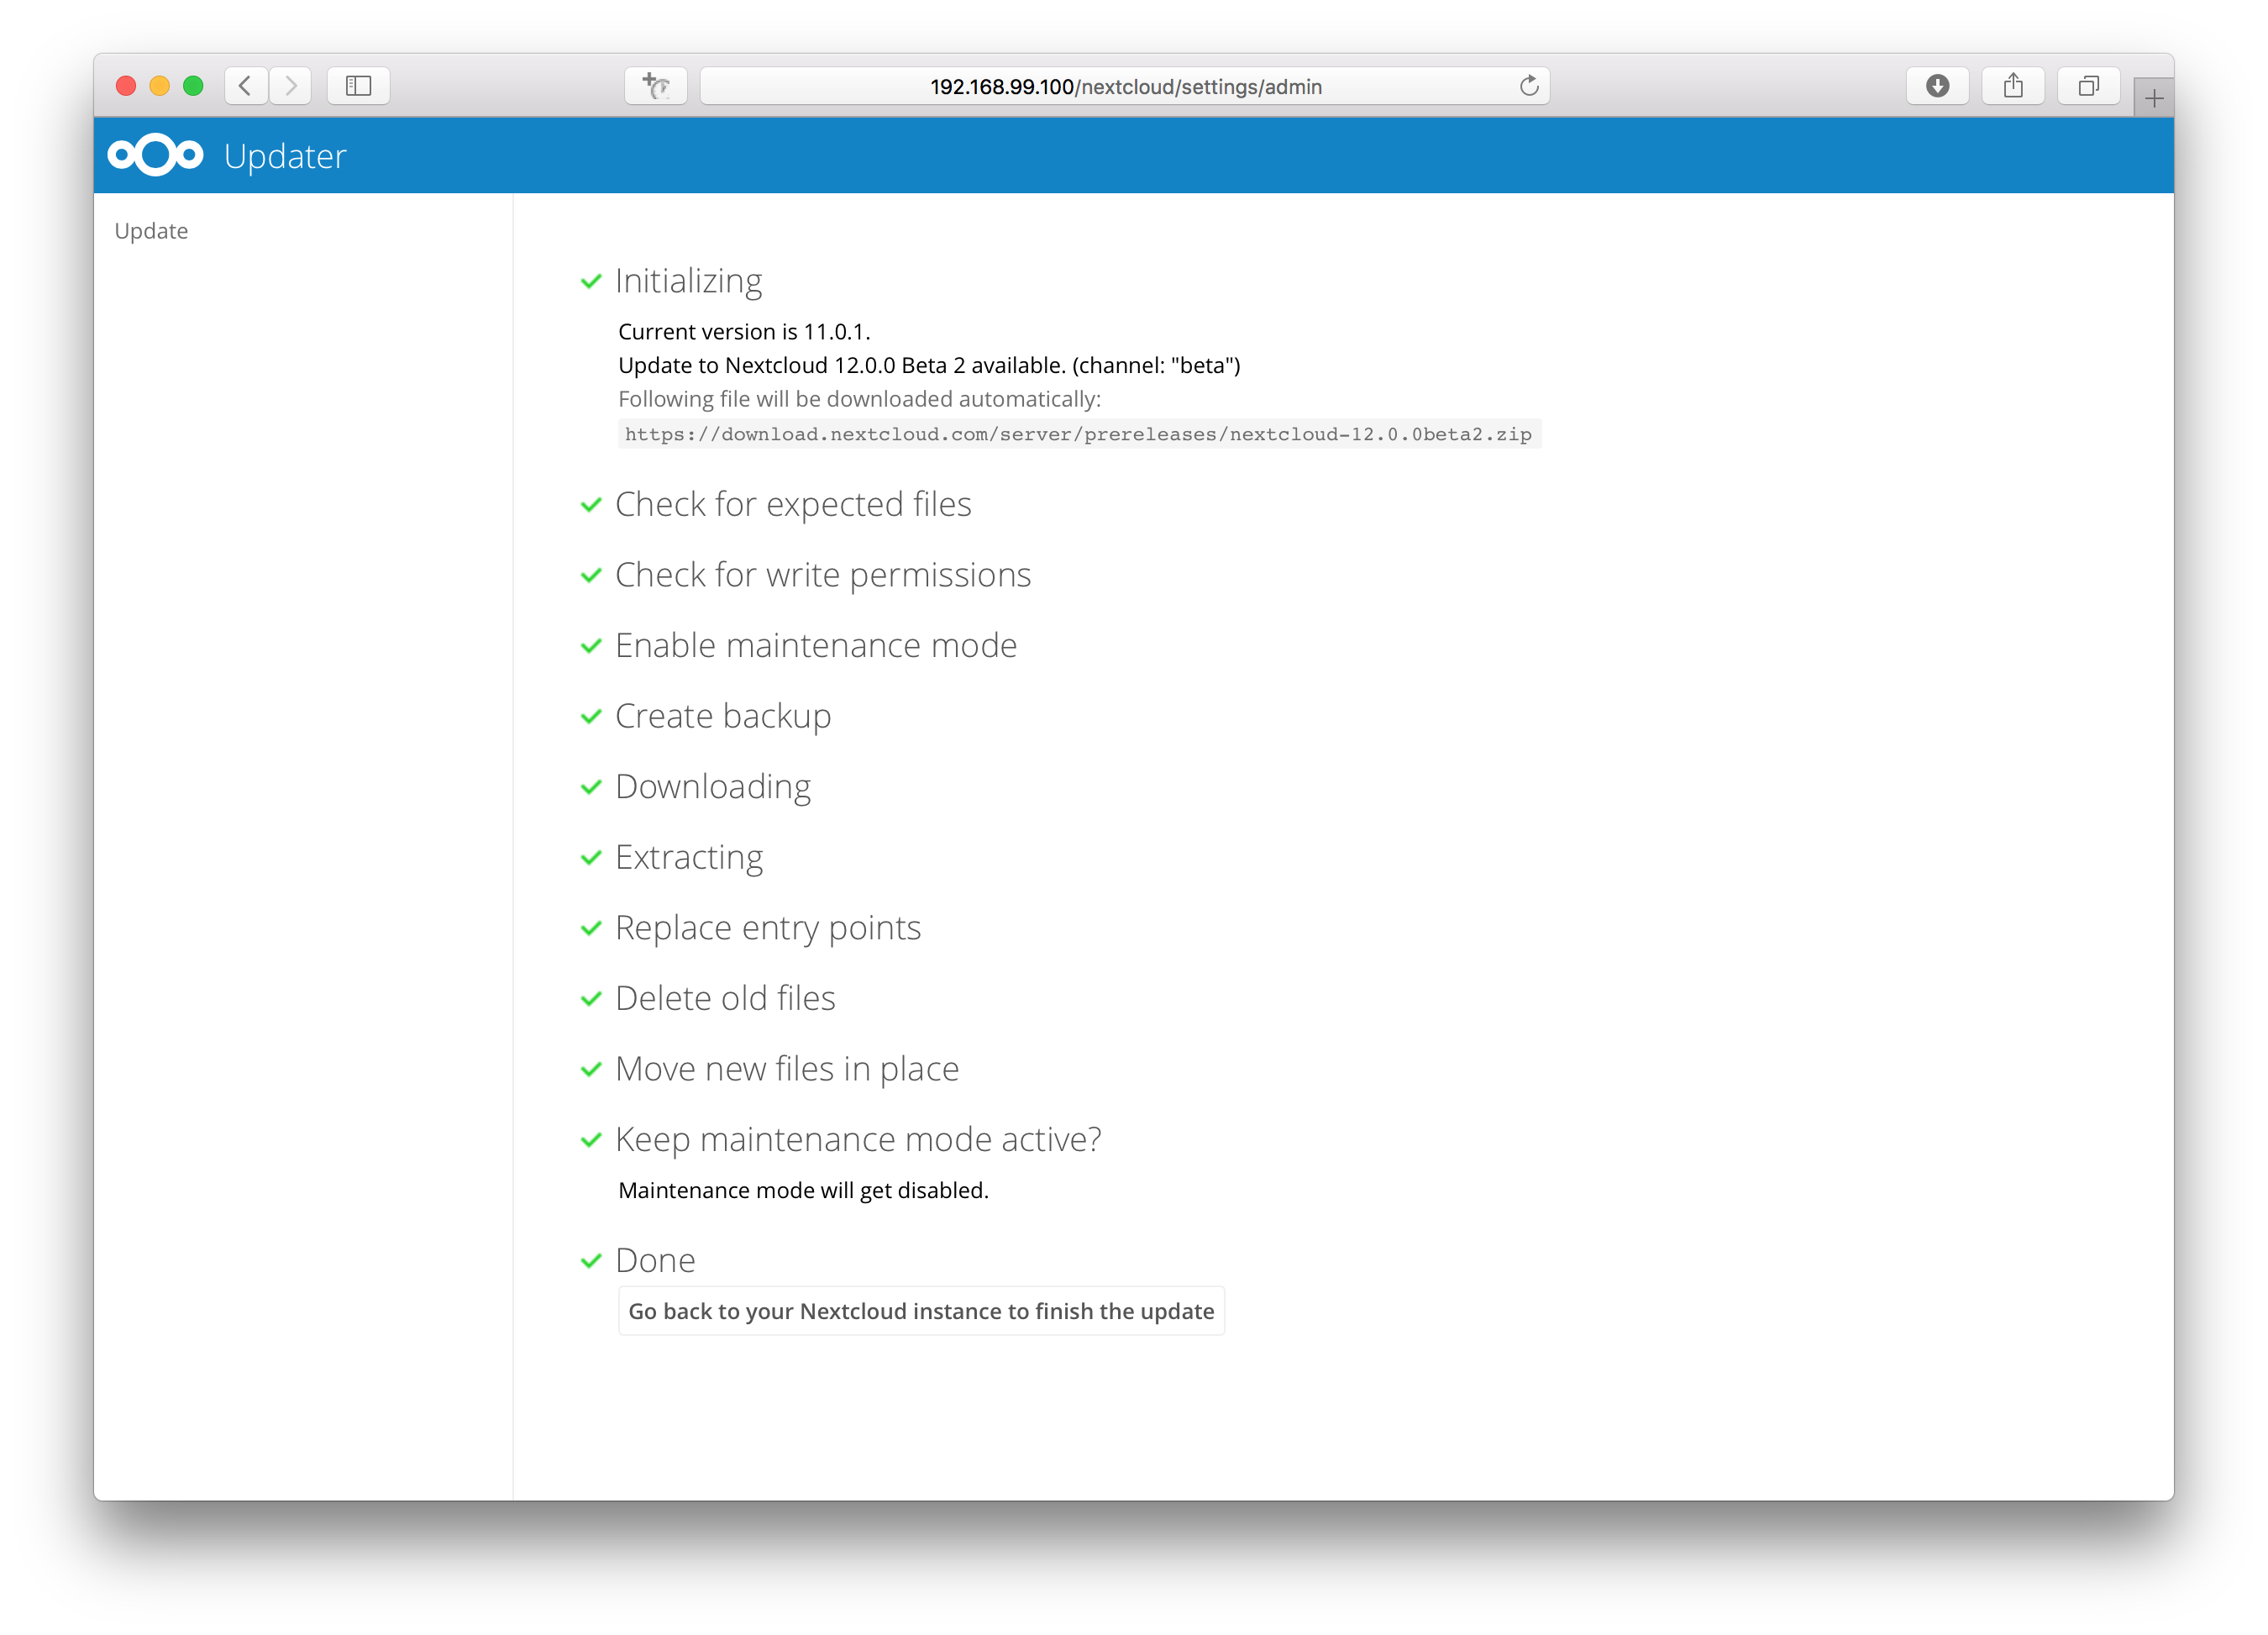
- Done. You now can continue either to the web based upgrade page or run
occ upgrade. The two examples “Web based upgrade” and “Command line based upgrade” shows how the screens then look like.
Web based upgrade
This is how the web based update would continue:
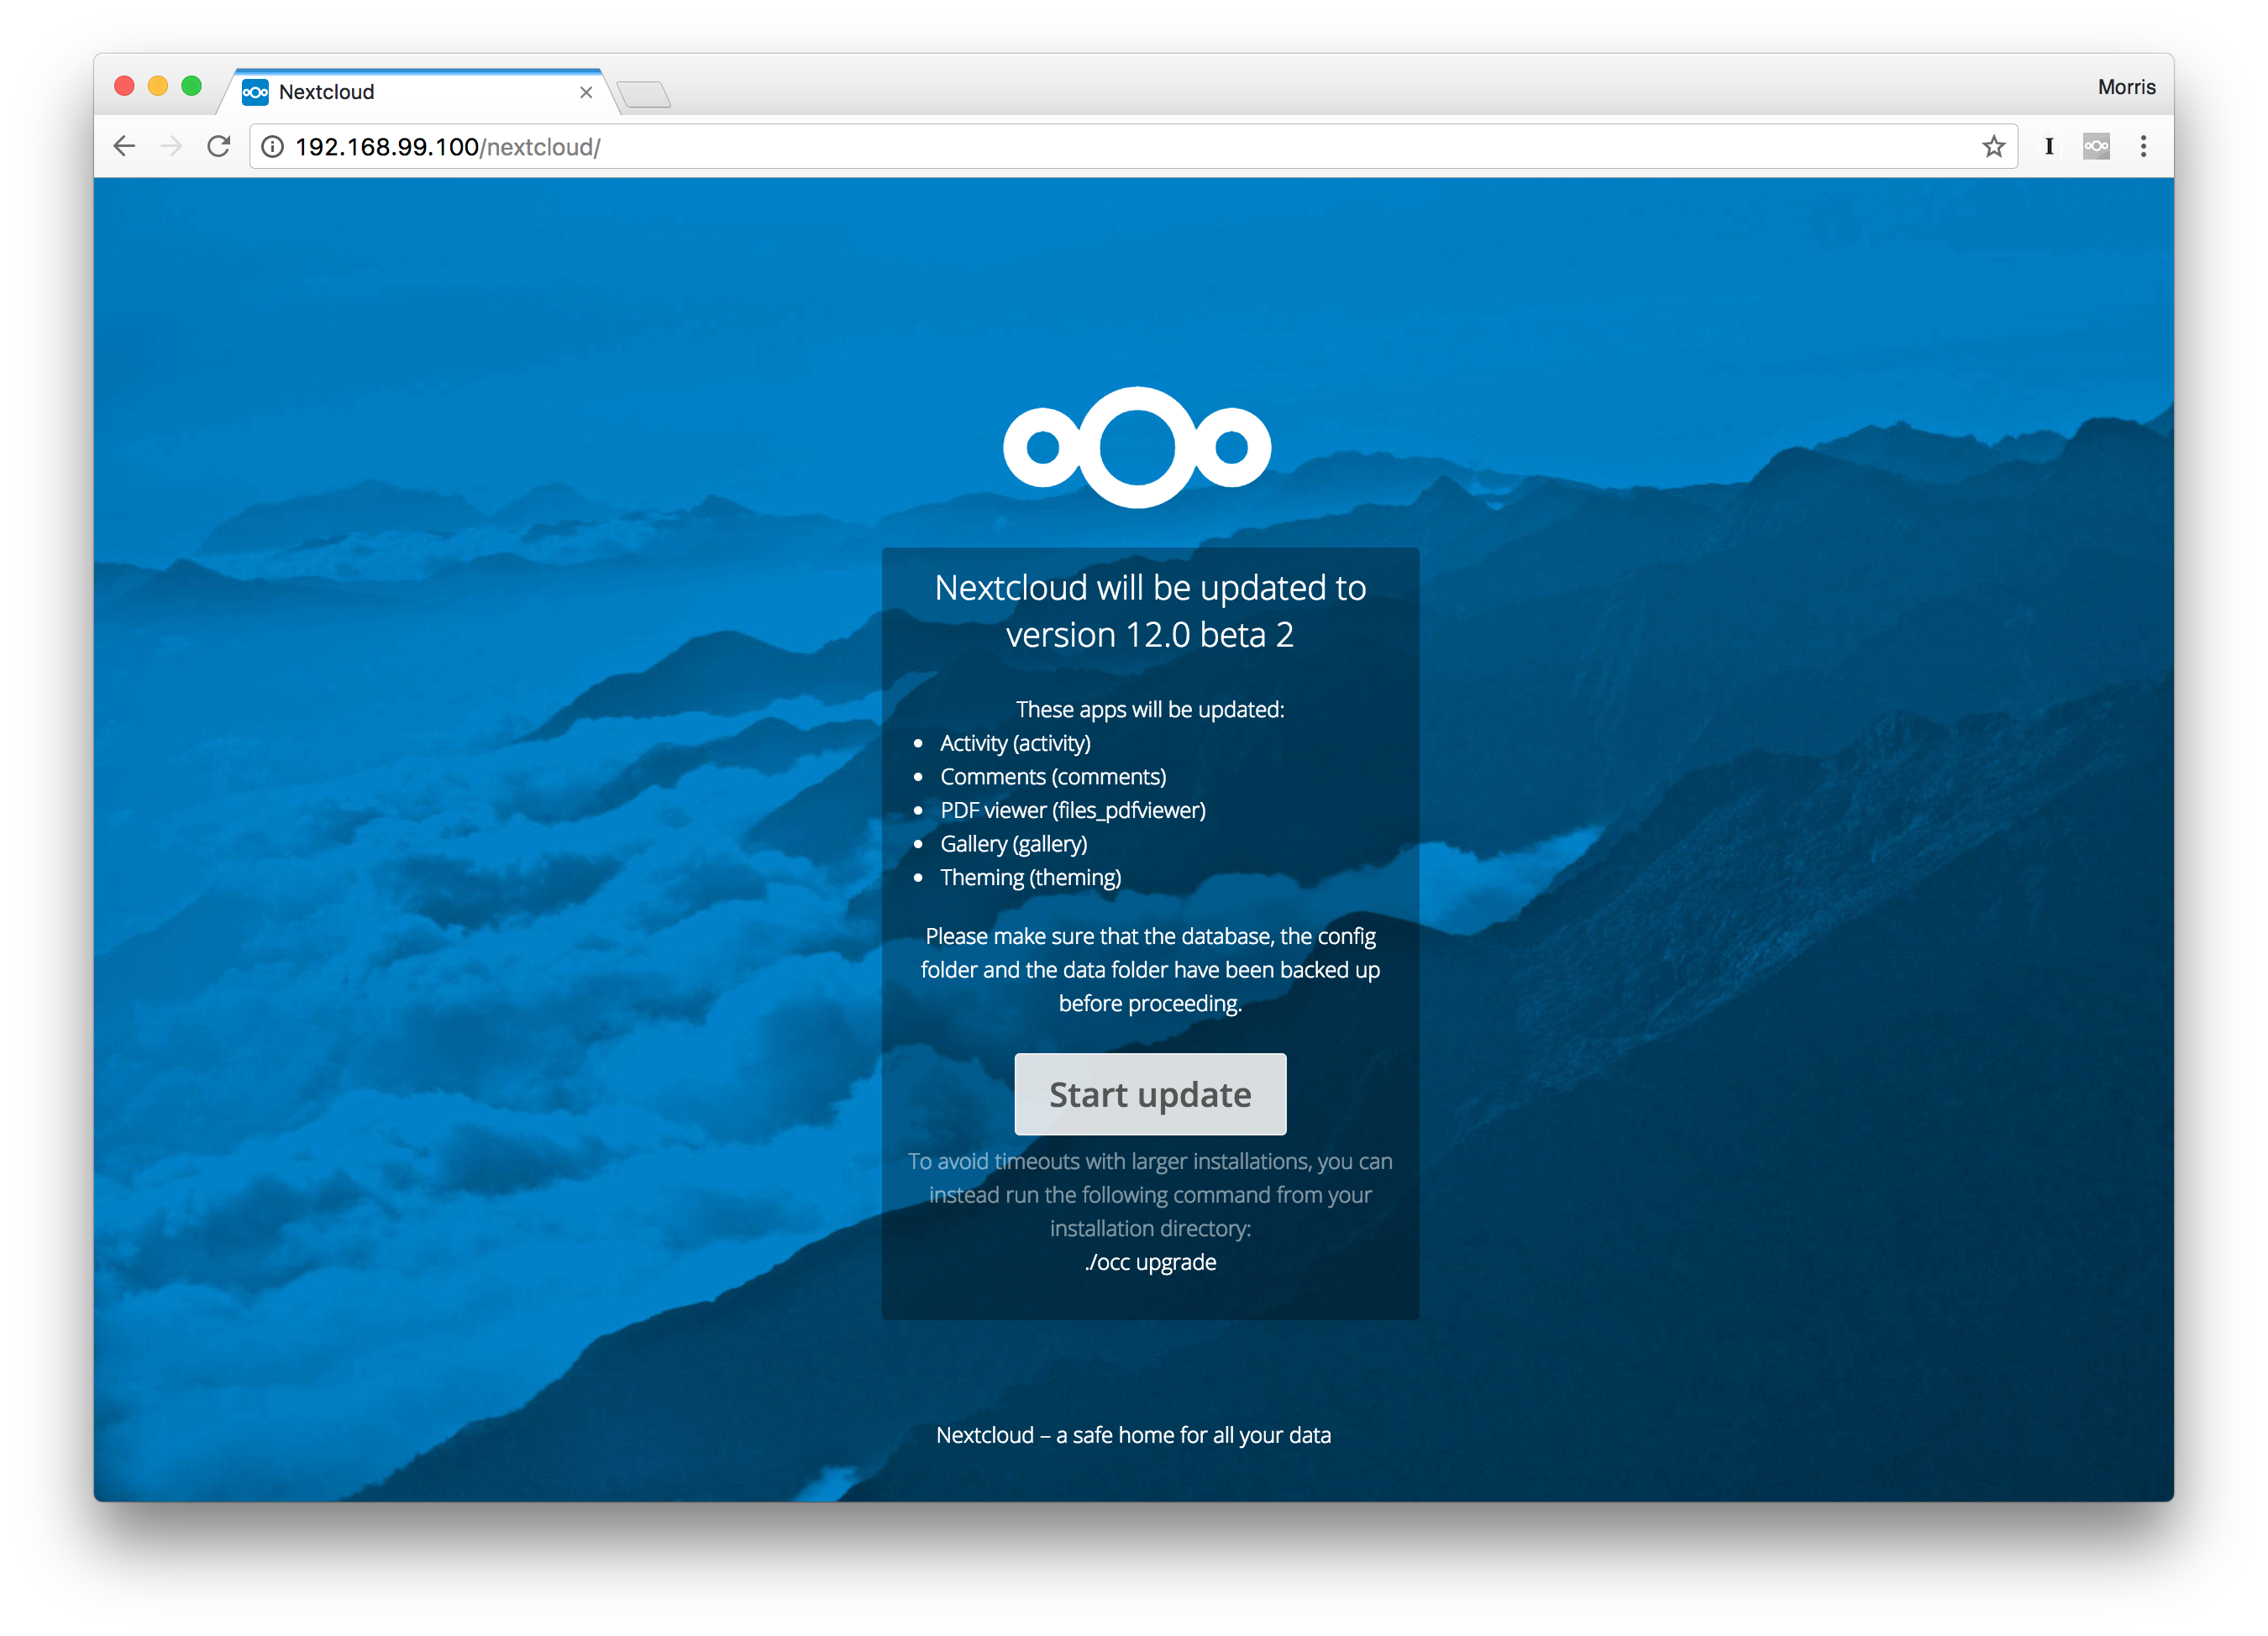
Command line based upgrade
This is how the command line based update would continue:
$ sudo -u www-data php ./occ upgrade
Nextcloud or one of the apps require upgrade - only a limited number of commands are available
You may use your browser or the occ upgrade command to do the upgrade
Set log level to debug
Updating database schema
Updated database
Updating <files_pdfviewer> ...
Updated <files_pdfviewer> to 1.1.1
Updating <gallery> ...
Updated <gallery> to 17.0.0
Updating <activity> ...
Updated <activity> to 2.5.2
Updating <comments> ...
Updated <comments> to 1.2.0
Updating <theming> ...
Updated <theming> to 1.3.0
Starting code integrity check...
Finished code integrity check
Update successful
Maintenance mode is kept active
Reset log level
Using the command line based updater
The command line based updater works in the exact same way the web based updater works. The steps and checks are the very same.
The steps are basically the same as for the web based updater:
- You should see a notification at the top of any Nextcloud page when there is a new update available. Go to the admin settings page and scroll to the section “Version”. This section has a button to open the updater. This section as well as the update notification is only available if the update notication app is enabled in the apps management.

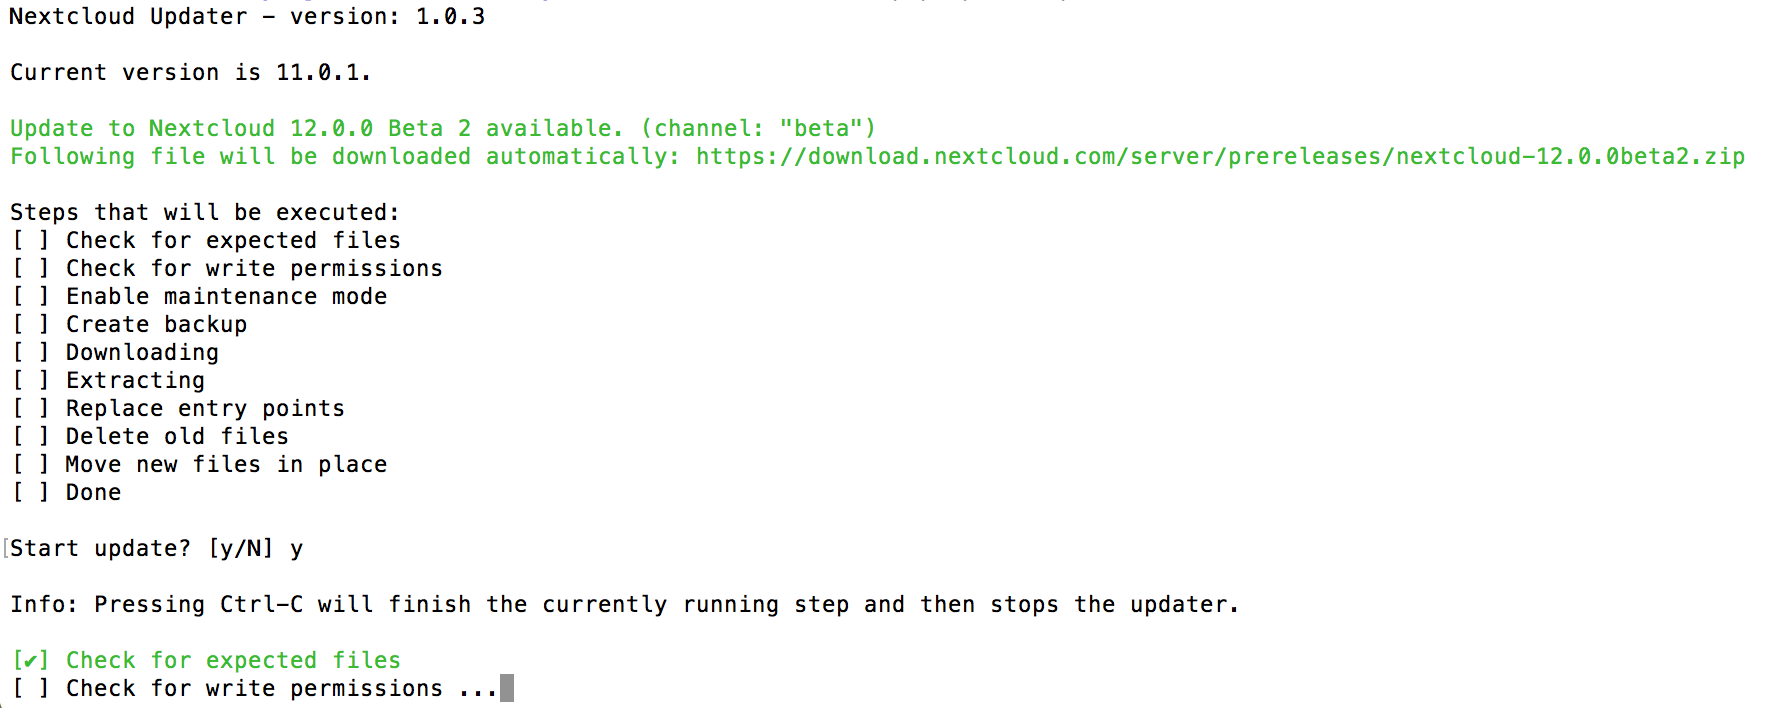
- Instead of clicking that button you can now invoke the command line based updater by going into the updater/ directory in the Nextcloud directory and executing the updater.phar as the web server user. (i.e.
php /updater/updater.phar)

- Verify the information that is shown and enter “Y” to start the update.
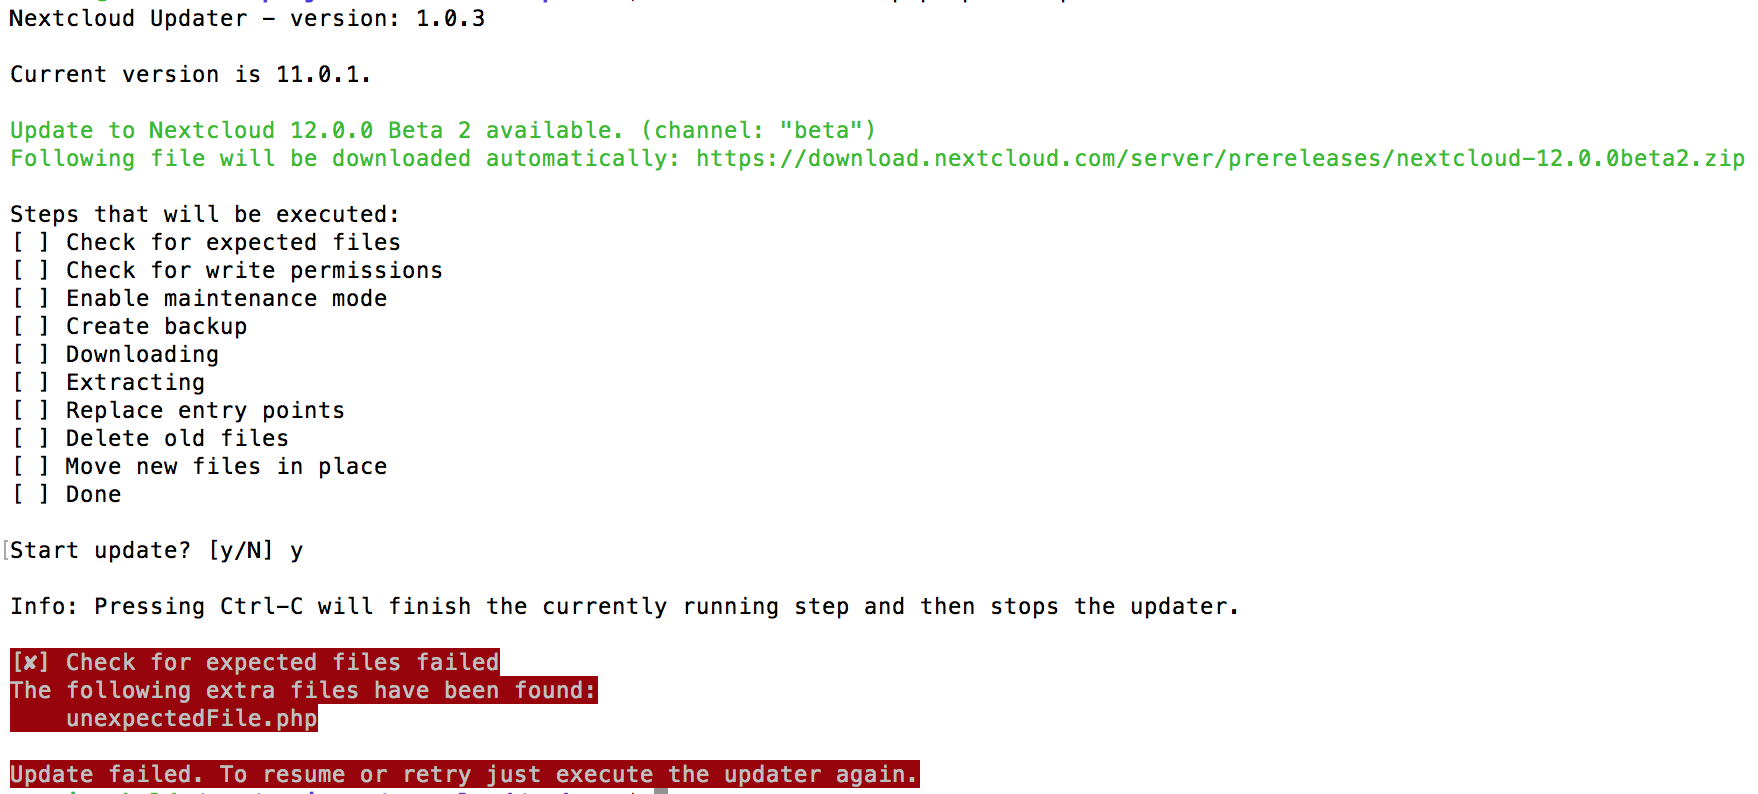
- In case an error happens or the check failed the updater stops processing and gives feedback. You can now try to solve the problem and re-run the updater command. This will continue the update and re-run the failed step. It will not re-run the previous succeeded steps.

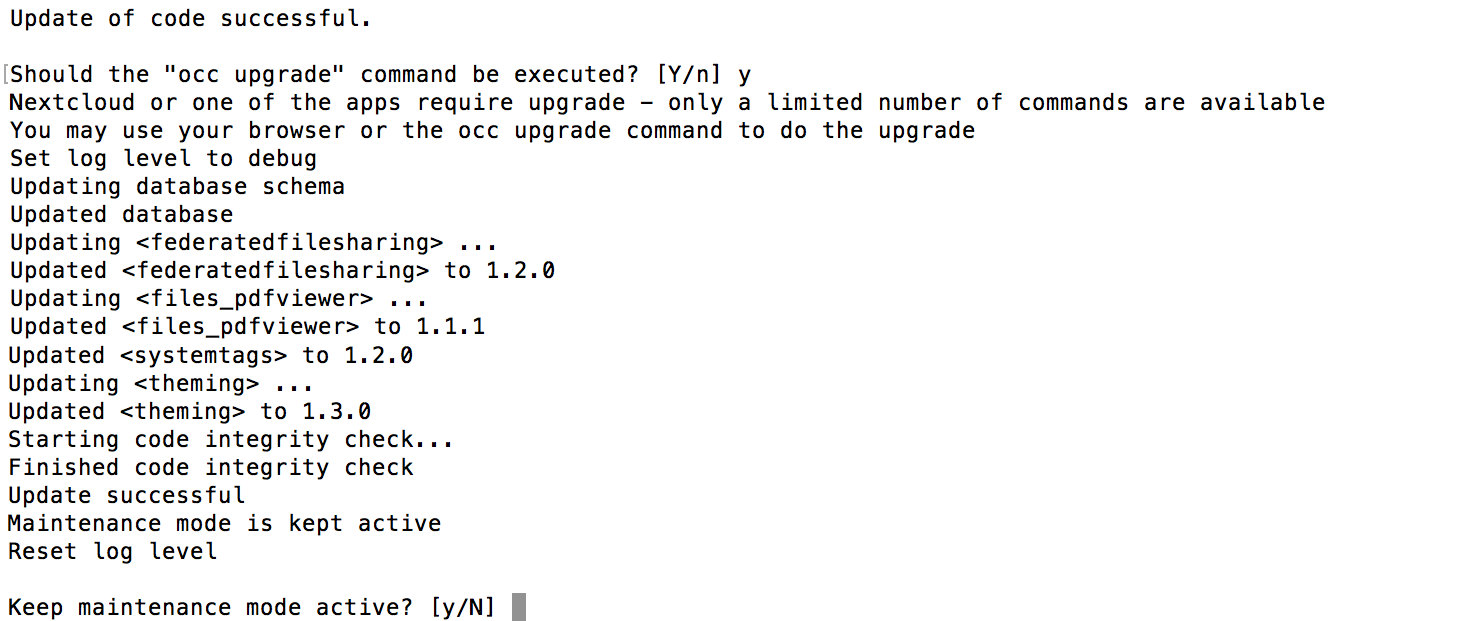
- Once all steps are executed the updater will ask you a final question: “Should the “occ upgrade” command be executed?”. This allows you to directly execute the command line based upgrade procedure (
occ upgrade). If you select “No” then it will finish with Please now execute ”./occ upgrade” to finish the upgrade..

- Once the
occ upgradeis done you get asked if the maintenance mode should be kept active.
Batch mode for command line based updater
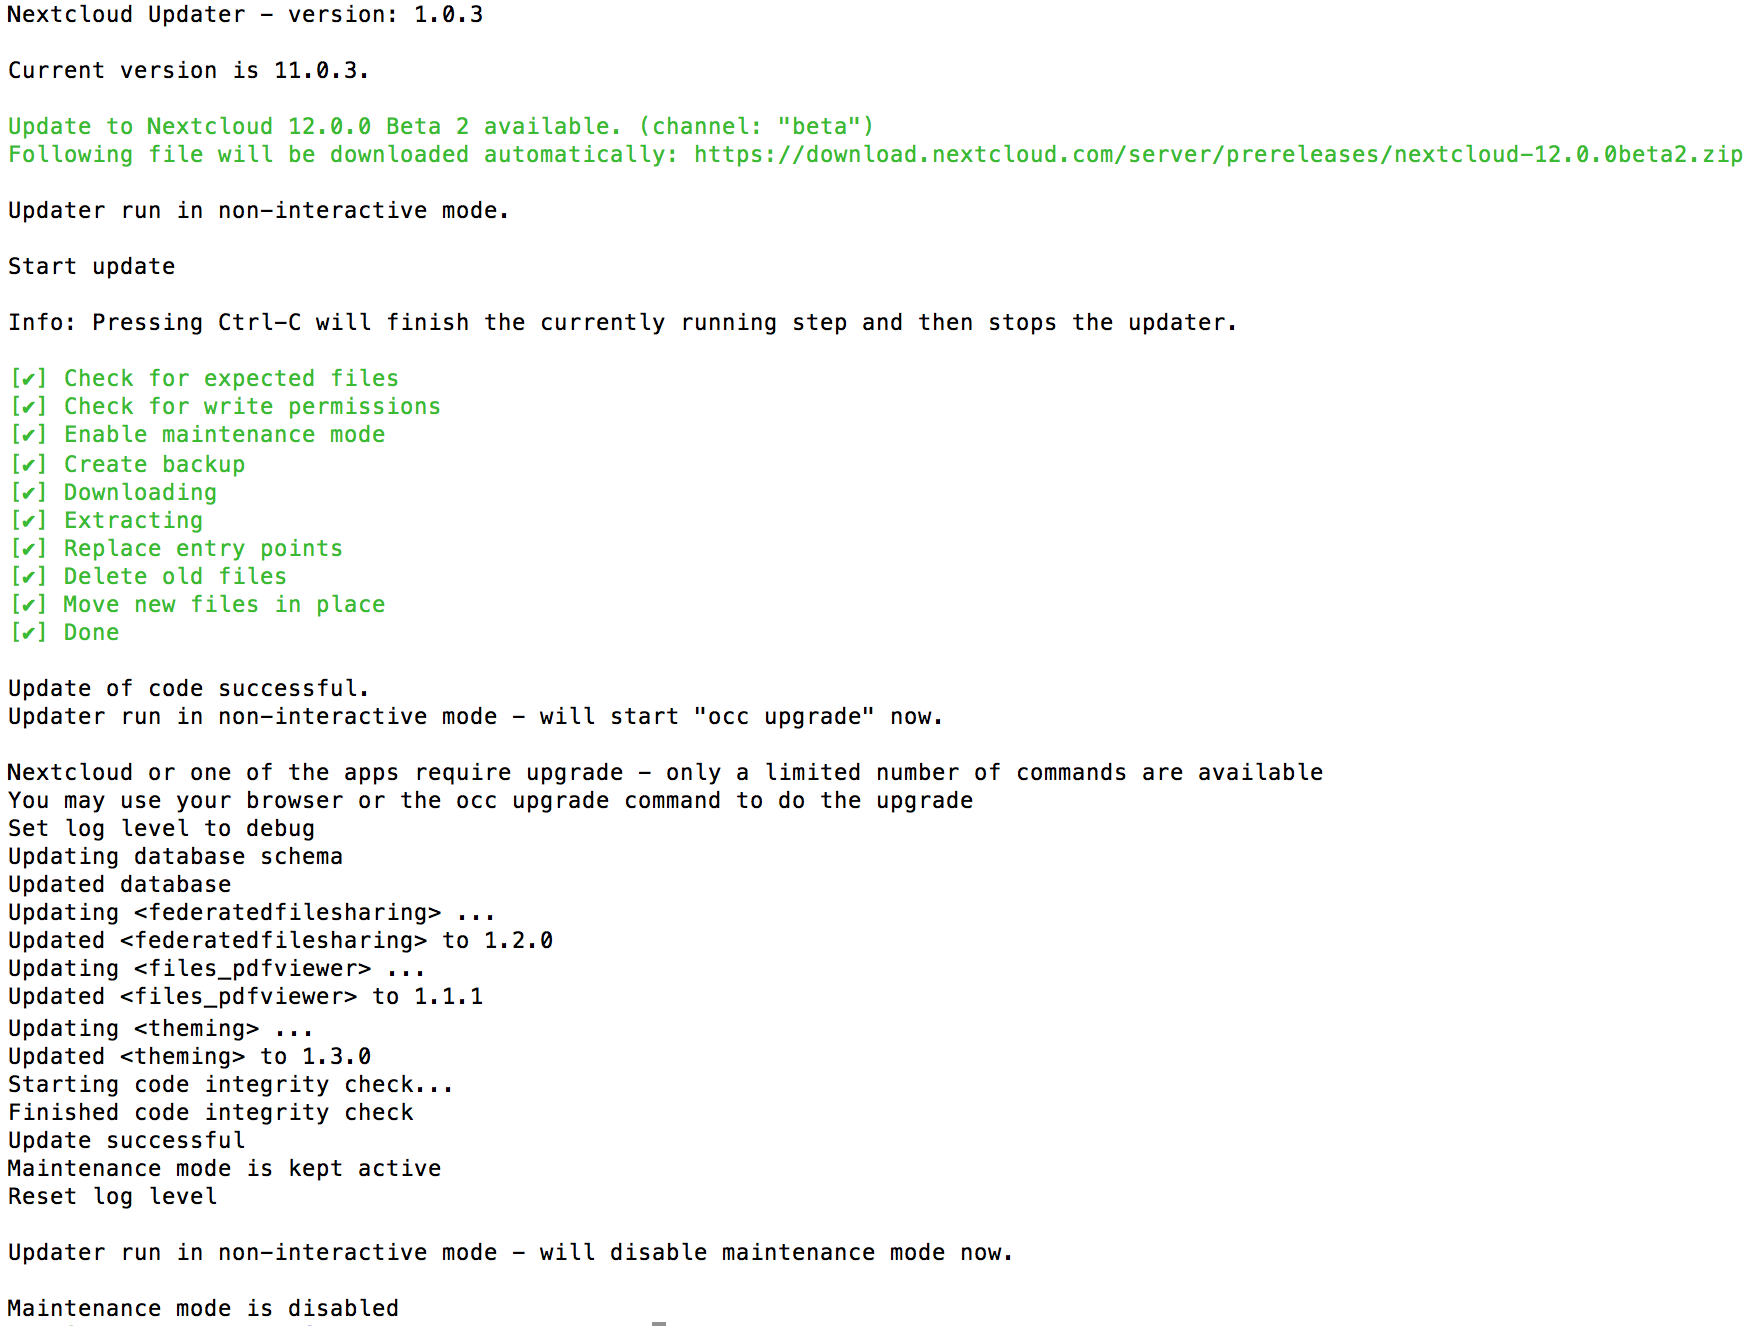
It is possible to run the command line based updater in a non-interactive mode. The updater then doesn’t ask any interactive questions. It is assumed that if an update is available it should be installed and the occ upgrade command is executed as well. After finishing the maintenance mode will be turned off except an error occured during the occ upgrade or the replacement of the code.
To execute this, run the command with the --no-interaction option. (i.e. php /updater/updater.phar --no-interaction)
